



Table of contents: Cleaning 🠇 Examination 🠇
Caution! If the engine has been overheated, it is quite possible that the cylinder head is deformed. Therefore, it is necessary to carefully check it.
Cleaning
1. Remove the remains of the old gasket from the cylinder head.
2. Clean carbon deposits from combustion chambers, then wash the head in a suitable solvent.
3. Clean any carbon deposits from the valves, perhaps even using a wire brush.
Examination
Cylinder head
1. Carefully inspect the cylinder head for cracks and other damage. If cracks are present, the head must be replaced.
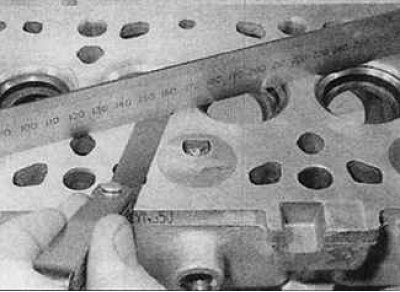
2. Using a metal ruler and feeler gauge, check the flatness of the mating surface of the cylinder head. If the flatness is more than 0.1 mm, the head must be re-ground, while its height must meet the requirements.
3. Check the condition of the valve seats. If they are burnt, worn or have defects, they must be replaced. If the valve seat wear is insignificant, they must be ground in.
4. Check the valve guides for wear by inserting the valve stem into them and moving it sideways. The movement should be insignificant. If the movement is excessive, remove the valve and measure the diameter of the valve stem, replace the valve if necessary. If the valve stem is not worn, then the guide is worn and must be replaced. Replacement of valve guides should be carried out at a Peugeot station.
5. When replacing valve guides, the valve seats must be reground and lapped.
6. On diesel engines, inspect the swirl chambers for damage and cracks. Small cracks are acceptable. Swirl chambers need to be replaced if they are badly burned and deformed or if their fit in the cylinder head has become loose. Swirl chamber replacement should be done by a specialist.
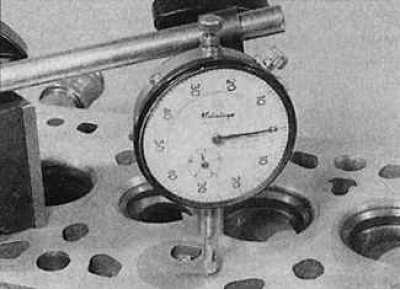
7. Check the protrusion of the swirl chamber from the cylinder block. To check the protrusion, install a bracket with a dial indicator on the mating surface of the cylinder head, install the measuring tip of the indicator on the surface of the head, set the indicator to 0, then move the tip of the indicator to the swirl chamber. Read the protrusion of the swirl chamber on the scale of the indicator. Check the protrusion of the remaining swirl chambers in the same way.
Valves
8. Check each valve head for localized corrosion, burns, cracks, and general wear. Check the valve stem for wear and bending. Check the end of the valve stem for wear. If any defects are present, the valve must be replaced.
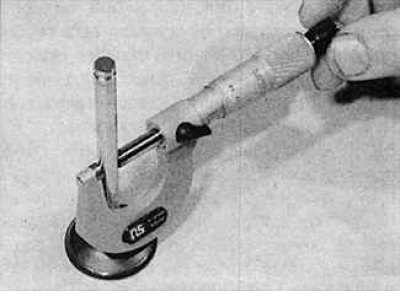
9. Using a micrometer, measure the valve stem diameter at several points along the stem. Any significant difference in the readings indicates valve stem wear and a mandatory valve replacement.
10. If the valves are in satisfactory condition, they should be inserted into their seats and lapped. If the valve plates or seats are badly worn, they should be machined or even replaced before lapping.
11. The valve grinding is performed as follows: Install the cylinder head with the combustion chambers facing upwards on wooden blocks.
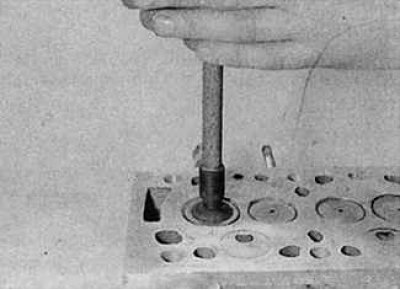
12. Lubricate the lapping paste on the valve plate and valve seat, install the valve in place and install the suction cup with the holder (handle) on the valve plate. Rotate the valve with the suction cup in different directions, lap the valve, and periodically lift the valve to redistribute the lapping paste.
13. If a coarse lapping paste is used, lap until a uniform matte surface appears on the valve seat and valve. Then wipe off the paste composition used and repeat the lapping process with a fine paste. Lapping should be performed until a light gray-matte color appears.
14. Carefully remove traces of lapping paste using a suitable solvent.
Valve elements
15. Check the valve springs for signs of damage. The minimum free length is not specified by Peugeot, so the only way to check the spring is to compare it with a new spring.
16. Install the springs with one of the ends on the frame, check the deviation of the spring axis from the vertical plane and the length of the springs. If one of the springs is damaged, all springs in the set must be replaced.
17. Replace the valve stem seals regardless of their condition.