



Removal
1. Where necessary, prise out the retaining clip and remove the plastic cover to gain access to the carburettor (see illustrations).
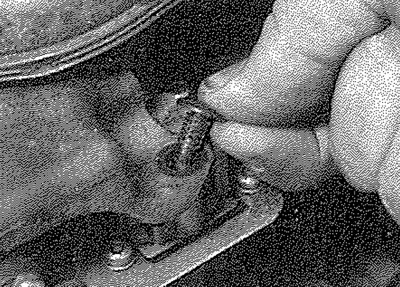
7.1a. Where necessary, prise out the retaining clip...
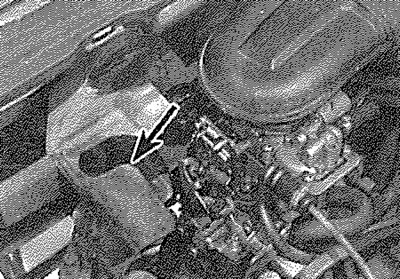
7.1b.... and remove the plastic cover (arrowed) to gain access to the carburettor
2. Free the accelerator inner cable from the carburettor throttle cam (see illustration), then pull the outer cable out from its mounting bracket rubber grommet. Slide the flat washer off the end of the cable and remove the spring clip.
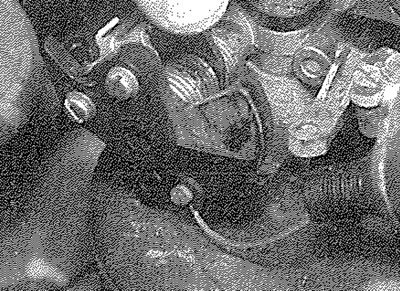
7.2. Free the accelerator cable from the throttle cam and withdraw the outer cable from its mounting bracket
3. Working back aiong the length of the cable, free it from any retaining clips or ties, noting its correct routing.
4. Working from inside the vehicle, undo the retaining nuts and remove the undercover panel from the driver's side of the facia.
5. Reach up behind the facia, then depress the retaining clips and detach the inner cable from the top of the accelerator pedal,
6. Displace the rubber grommet from the end of the outer cable retainer and tie a length of string to the end of the inner cable.
7. Return to the engine compartment and release the outer cable retainer from the engine compartment bulkhead. Withdraw the cable from the bulkhead until the end of the cable appears, then untie the string and leave it in position. The string can then be used to draw the cable back into position when refitting.
Refitting
8. Tie the string to the end of the cable, then use the string to draw the cable into position through the bulkhead. Once the cable end is visible, untie the string.
9. Align the outer cable retainer lug with the cut-out in the bulkhead, then securely clip the retainer into position. Check that the retainer is securely fitted, then slide the rubber grommet over the retainer end and clip the inner cable into position in the pedal.
10. Make sure that the cable is securely retained, then refit the undercover panel to the facia.
11. From within the engine compartment, ensure the outer cable is correctly seated in the bulkhead grommet, then work along the cable, securing it in position with the retaining clips and ties and ensuring that the cable is correctly routed.
12. Slide the flat washer onto the cable end and refit the spring clip.
13. Pass the outer cable through its carburettor mounting bracket grommet and reconnect the inner cable to the throttle cam. Adjust the cable as described below.
Adjustment
14. If not already done, prise out the retaining clip and remove the plastic cover (where fitted) from the carburettor.
15. Remove the spring clip from the accelerator outer cable. Ensuring that the throttle cam is fully against its stop, gently pull the cable out of its grommet until all free play is removed from the inner cable.
16. With the cable held in this position, ensure that the flat washer is pressed securely against the grommet and fit the spring clip to the last exposed outer cable groove in front of the rubber grommet and washer. When the clip is refitted and the outer cable is released, there should be only a small amount of free play in the inner cable (see illustration).
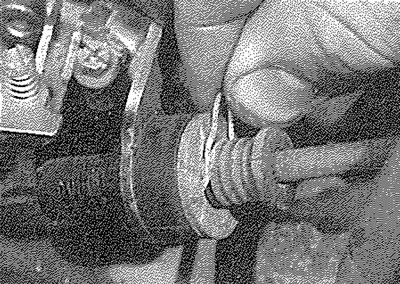
7.16. Adjusting the accelerator cable
17. Have an assistant depress the accelerator pedal and check that the throttle cam opens fully and returns smoothly to its stop.
18. Where necessary, clip the carburettor plastic cover back into position and refit its retaining clip.
[Source of the article is posted at www.peugeotbook.ru]