



Table of contents: Removal 🠇 Refitting 🠇
Note: Refer to the warning note in Section 1 before proceeding.
Removal
1. Disconnect the battery negative terminal (refer to "Disconnecting the battery").
2. Remove the air cleaner-to-carburettor duct as described in paragraphs 1 and 2 of Section 2.
3. Where necessary, prise out the retaining clip and remove the plastic cover from the carburettor.
4. On 954 and 1124 cc models, slacken the retaining clips and disconnect the coolant hoses from the base of the carburettor (see illustration). Plug the hose ends to minimise coolant loss and mop up any spilt coolant immediately.
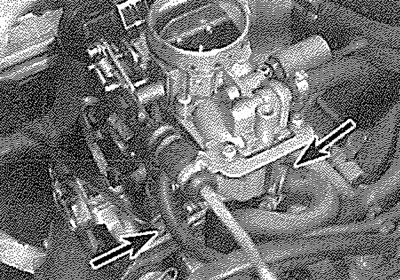
12.4. On 954 cc and 1124 cc models, slacken the retaining clips and disconnect the coolant hoses (arrowed) from the carburettor
5. On all models, free the accelerator inner cable from the throttle cam, then pull the outer cable out from its mounting bracket rubber grommet, along with its flat washer and spring clip.
6. Disconnect the choke inner cable from the carburettor linkage, then undo the retaining bolt and remove the retaining clamp. Position the cable clear of the carburettor.
7. Disconnect the wiring connector from the carburettor heating element and/or the idle cut-off solenoid (see illustration).
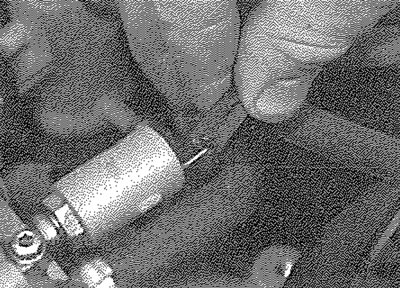
12.7. Disconnect the idle cut-off solenoid wiring connector (1124 cc model shown)
8. Slacken the retaining clip and disconnect the fuel feed hose from the carburettor (see illustration). Place wads of rag around the union to catch any spilled fuel and plug the hose as soon as it is disconnected, to minimise fuel loss.
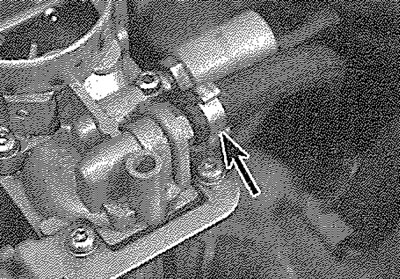
12.8. Carburettor fuel feed hose union (1124 cc model shown)
9. Make a note of the correct fitted positions of all the relevant vacuum pipes and breather hoses, to ensure they are correctly positioned on refitting, then release the retaining clips (where fitted) and disconnect them from the carburettor.
10. Unscrew the two or four nuts and washers securing the carburettor to the inlet manifold and remove the carburettor assembly from the car (see illustration). Remove the insulating spacer and/or gasket. Discard the gasket; new ones must be used on refitting. Plug the inlet manifold port with a wad of clean cloth, to prevent the possible entry of foreign matter.
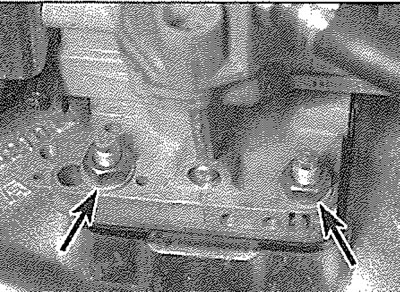
12.10. Carburettor retaining nuts - two of four arrowed (1360 cc model shown)
Refitting
11. Refitting is the reverse of the removal procedure, noting the following points:
- a) Ensure the carburettor and inlet manifold sealing faces are clean and flat. Fit a new gasket/gaskets and insulating spacer (as applicable) and securely tighten the carburettor retaining nuts.
- b) Use the notes made on dismantling to ensure all hoses are refitted to their original positions and, where necessary, are securely held by their retaining clips.
- c) Where the original crimped-type hose clips were fitted, discard them; use standard worm-drive hose clips when refitting.
- d) Refit and adjust the choke and accelerator cables as described in Sections 7 and 9.
- e) Refit the air cleaner duct (Section 2).
- f) On completion, check and, if necessary, adjust the idle speed and mixture settings as described in Chapter 1A.
(Information posted on the website: «peugeotbook.ru»)