



Note: If the reason for removing the radiator is to cure a leak, it is worth trying the effect of a radiator sealing compound - this is added to the coolant and will often cure minor leaks with the radiator in situ.
Removal
1. Disconnect the battery negative terminal (refer to "Disconnecting the battery").
2. Drain the cooling system as described in Chapter 1A or 1B.
3. Where applicable, to improve access, remove the exhaust manifold heat shield. On later models, move the power steering fluid reservoir to one side (where fitted).
4. Remove the air cleaner air intake ducting or the complete air cleaner assembly, as required, referring to the relevant Part of Chapter 4.
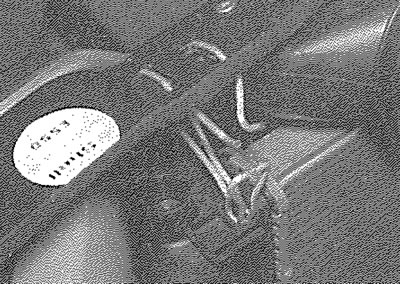
5. Disconnect the wiring plugs from the cooling fan and from the cooling fan switch, which is mounted in the top left-hand corner of the radiator. Where applicable, release the wiring harness from the clips on the fan shroud and move the harness to one side (see illustration).
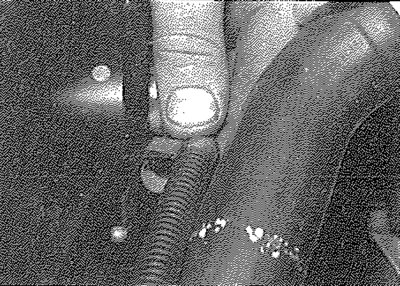
3.5. Release the wiring harness from the clips on the fan shroud
6. Remove the cooling fan shroud securing bolts, then disengage the shroud lugs from the brackets on the end of the radiator and lift the cooling fan and shroud assembly from the radiator. Note that on certain models, due to limited clearance, the fan/shroud assembly must be withdrawn from underneath the vehicle.
7. Disconnect the coolant hoses from the radiator, with reference to Section 2 if necessary (see illustration).
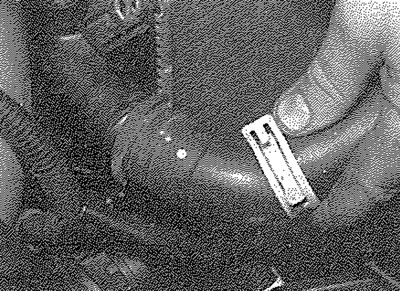
3.7. Disconnect the radiator hoses
8. On petrol models fitted with a radiator shield, remove the left-hand headlight as described in Chapter 12. Working through the headlight aperture, remove the left-hand radiator shield securing bolt. Working through the front body aperture, unscrew the righthand radiator shield securing bolt from the front top right-hand corner of the radiator.
9. On diesel models, working through the front body aperture at the right-hand side of the radiator, unscrew the two radiator shield securing bolts and withdraw the shield (see illustrations).
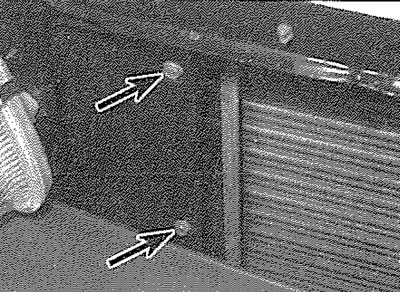
3.9a. Unscrew the two securing bolts (arrowed)...
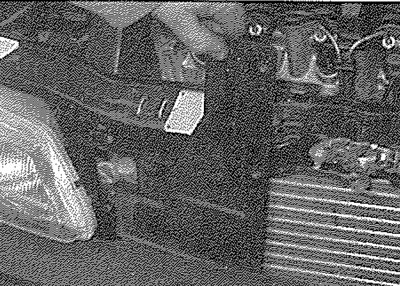
3.9b.... and withdraw the radiator shield-diesel model
10. Using a suitable pair of pliers, release the upper radiator securing spring clips from the top of the radiator and the body front panel and withdraw the clips (see illustrations). On later models, undo the bolts and release the radiator mounting brackets on each side.
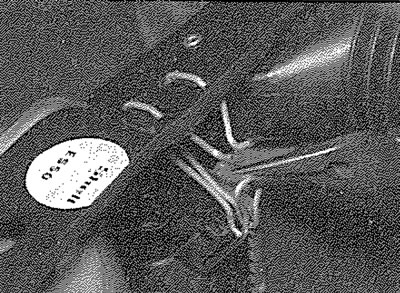
3.10a. Using a pair of pliers, lift out the bottom of the clip...
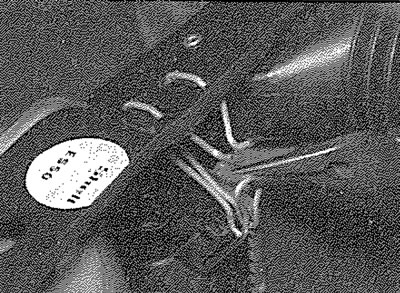
3.10b.... then release the top legs
11. The radiator can now be withdrawn from the engine compartment. On diesel and some petrol models, the radiator is most easily withdrawn from underneath the vehicle (see illustration). On certain other models, the radiator must be withdrawn through the top of the engine compartment, in which case, it may be necessary to drill out the pop-rivets and remove the air intake tube from the front body panel.
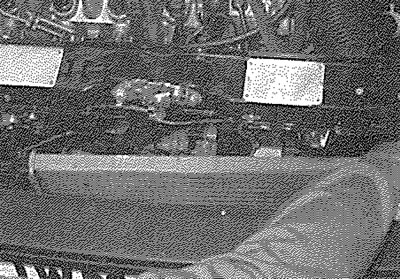
3.11. Lower the radiator from the engine compartment - diesel model
Caution: Take care not to damage the radiator fins during removal.
12. On petrol models, if desired, remove the heat shield from the coolant expansion tank.
You can find the original on the page (PeugeotBook.ru)
13. Where applicable, recover the lower mounting rubbers and lift out the radiator shield.
Inspection
14. If the radiator has been removed due to suspected blockage, reverse-flush it as described in Chapter 1A or 1B. Clean dirt and debris from the radiator fins, using an air line (in which case, wear eye protection) or a soft brush.
Caution: Be careful, as the fins are sharp and easily damaged.
15. If necessary, a radiator specialist can perform a "flow test" on the radiator, to establish whether an internal blockage exists.
16. A leaking radiator must be referred to a specialist for permanent repair. Do not attempt to weld or solder a leaking radiator, as damage to the plastic components may result.
17. In an emergency, minor leaks from the radiator can be cured by using a suitable radiator sealant, in accordance with its manufacturer's instructions, with the radiator in situ.
18. If the radiator is to be sent for repair or renewed, remove all hoses and the cooling fan switch.
19. Inspect the condition of the radiator mounting rubbers and renew them if necessary (see illustration).
3.19. Inspect the radiator mounting rubbers
Refitting
20. Refitting is a reversal of removal, bearing in mind the following points:
- a) Ensure that the lower lugs on the radiator are correctly engaged with the mounting rubbers in the body panel.
- b) Ensure that the upper radiator securing spring clips are correctly engaged (see illustration).
- c) Where applicable, refit the headlight with reference to Chapter 12.
- d) Reconnect the hoses with reference to Section 2.
- e) Where applicable, refit the air intake tube using new pop-rivets.
- f) On completion, refill the cooling system as described in Chapter 1A or 1B.
3.20. Ensure that the spring clips are correctly engaged