



Testing
1. Current supply to the cooling fan is via the ignition switch (see Chapter 5A) and a fuse (see Chapter 12). The circuit is completed by the cooling fan thermostatic switch, which is mounted in the upper left-hand corner of the radiator. On models with air conditioning, the cooling fan is also controlled by the coolant temperature sensor, via the air conditioning control unit - see Section 6.
2. If the fan does not appear to work, run the engine until normal operating temperature is reached, then allow it to idle. The fan should cut in within a few minutes (before the temperature gauge needle enters the red section, or before the coolant temperature warning light comes on). If not, switch off the ignition and disconnect the wiring plug from the cooling fan switch. Bridge the two contacts in the wiring plug using a length of spare wire and switch on the ignition. If the fan now operates, the switch is probably faulty and should be renewed.
3. If the fan still fails to operate, check that battery voltage is available at the feed wire to the switch; if not, then there is a fault in the feed wire (possibly due to a fault in the fan motor, or a blown fuse). If there is no problem with the feed, check that there is continuity between the switch earth terminal and a good earth point on the body; if not, then the earth connection is faulty and must be re-made.
4. If the switch and the wiring are in good condition, the fault must lie in the motor itself. The motor can be checked by disconnecting it from the wiring loom and connecting a 12-volt supply directly to it.
Removal
5. Disconnect the battery negative terminal (refer to "Disconnecting the battery").
6. Remove the air cleaner air intake ducting as described in the relevant Part of Chapter 4. If necessary for improved access, drill out the pop-rivets and remove the air intake tube from the front body panel.
7. Where applicable, remove the heat shield from the exhaust manifold. On 1587 cc (16-valve) models, remove the front bumper as described in Chapter 11.
8. Disconnect the wiring plug from the cooling fan.
9. Remove the cooling fan shroud securing bolt, then disengage the shroud legs from the brackets on the end of the radiator and lift the cooling fan and shroud assembly from the radiator (see illustrations).
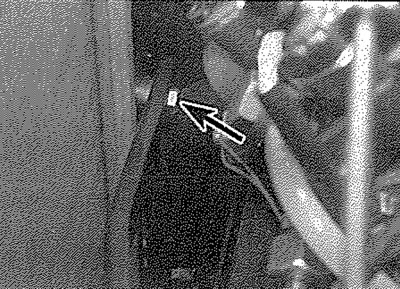
5.9a. Remove the securing bolt (arrowed)...
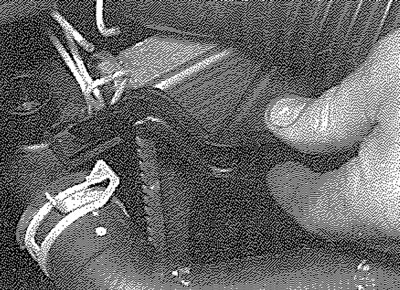
5.9b.... and disengage the cooling fan shroud legs from the radiator brackets
10. If desired, the fan blades can be removed from the end of the motor shaft after removing the securing clip (see illustration). The motor can be removed from the shroud assembly after drilling out the securing rivets.
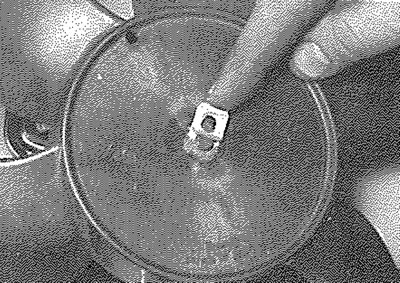
5.10. Removing the cooling fan blades securing clip
Refitting
11. Refitting is a reversal of removal. Where applicable, use new rivets to secure the fan motor and/or the air intake tube.