



Table of contents: Aluminium block engines 🠇 Cast-iron block engines 🠇
1. Remove the crankshaft timing sprocket, the oil pump and the flywheel as described in Part A or B of this Chapter (as applicable).
2. Remove the pistons and connecting rods, as described in Section 9.
Note: If no work is to be done on the pistons and connecting rods, there is no need to remove the cylinder head, or to push the pistons out of the cylinder bores. The pistons should just be pushed far enough up the bores that they are positioned clear of the crankshaft journals.
3. Check the crankshaft endfloat as described in Section 13, then proceed as follows.
Aluminium block engines
4. Work around the outside of the cylinder block, and unscrew all the small (6 mm) bolts securing the main bearing ladder to the base of the cylinder block. Note the correct fitted depth of both the front and rear crankshaft oil seals in the cylinder block/main bearing ladder.
5. Working in a diagonal sequence, evenly and progressively slacken the ten large (11 mm) main bearing ladder retaining bolts by a turn at a time. Once all the bolts are loose, remove them from the ladder.
6. With all the retaining bolts removed, carefully lift the main bearing ladder casting away from the base of the cylinder block. Recover the lower main bearing shells, and tape them to their respective locations in the casting. If the two locating dowels are a loose fit, remove them and store them with the casting for safe-keeping.
7. Lift out the crankshaft, and discard both the oil seals. Remove the oil pump drive chain from the end of the crankshaft, then slide off the drive sprocket and recover the Woodruff key.
8. Recover the upper main bearing shells, and store them along with the relevant lower bearing shells. Also recover the two thrustwashers (one fitted either side of No 2 main bearing) from the cylinder block.
Cast-iron block engines
9. Unbolt and remove the crankshaft front and rear oil seal housings from each end of the cylinder block, noting the correct fitted locations of the locating dowels (see illustration). If the locating dowels are a loose fit, remove them and store them with the housings for safe-keeping.
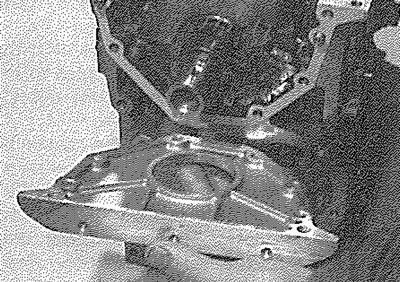
10.9. On cast-iron block engines, remove the oil seal carrier from the front of the cylinder block...
10. Remove the oil pump drive chain, and slide the drive sprocket off the end of the crankshaft. Remove the Woodruff key, and store it with the sprocket for safe-keeping (see illustrations).
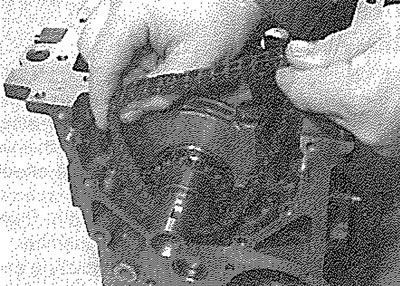
10.10a... then remove the oil pump drive chain...
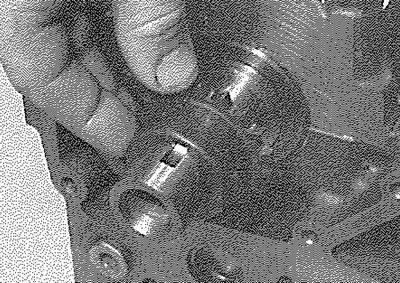
10.10b.... and drive sprocket...
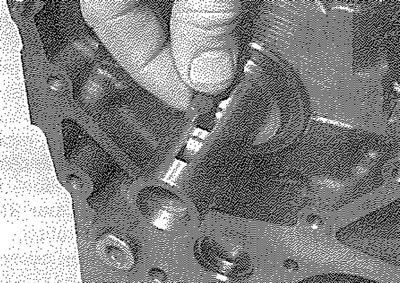
10.10c.... then remove the Woodruff key from the crankshaft
11. The main bearing caps should be numbered 1 to 5 from the transmission (flywheel) end of the engine (see illustration). If not, mark them accordingly using a centrepunch or paint
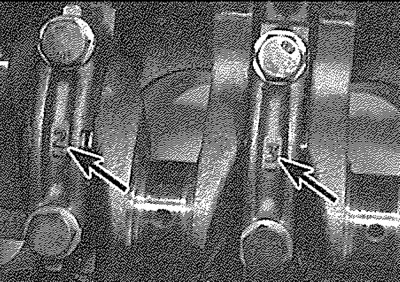
10.11. Mam bearing cap identification markings (arrowed)
12. Unscrew and remove the main bearing cap retaining bolts, and withdraw the caps. Recover the lower main bearing shells, and tape them to their respective caps for safekeeping.
13. Carefully lift out the crankshaft, taking care not to displace the upper main bearing shells (see illustration).
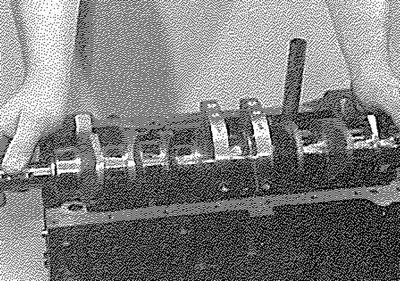
10.13. Lifting out the crankshaft
14. Recover the upper bearing shells from the cylinder block, and tape them to their respective caps for safe-keeping. Remove the thrustwasher halves from the side of No 2 main bearing, and store them with the bearing cap (see illustration).
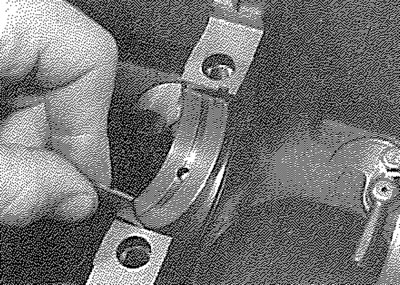
10.14. Remove the upper main bearing shells from the cylinder block/crankcase and store them with their lower shells