
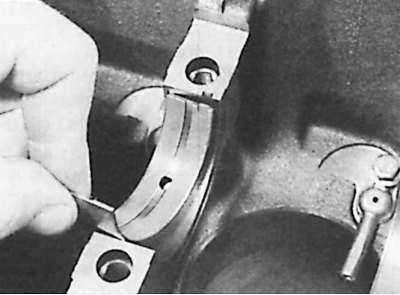
Connecting rod and connecting rod cap marked for identification
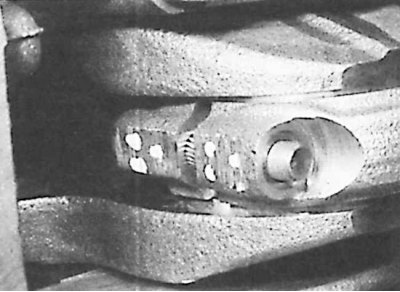
Cylinder #3 shown.
If possible, install the engine on a stand; if not, install it in such a way that the engine cannot be damaged when unscrewing tightly tightened nuts and bolts.
Cleanliness is very important during disassembly to prevent contamination of the disassembled components. Before proceeding with disassembly, clean the outside of the engine with kerosene or, if very dirty, with solvent.
When the parts are removed from the engine, wash them in kerosene. Never immerse parts with internal lubrication channels in kerosene. Such parts should be thoroughly wiped with a cloth soaked in kerosene, and the lubrication channels should be cleaned with a wire rope.
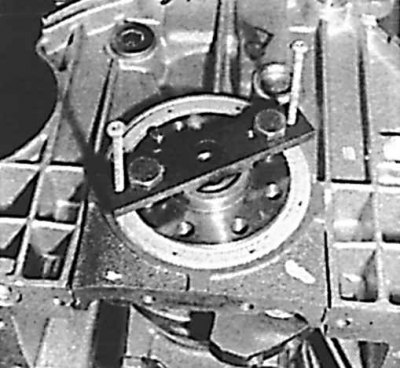
Bolts of lateral fastening of a cover of the average bearing of a cranked shaft
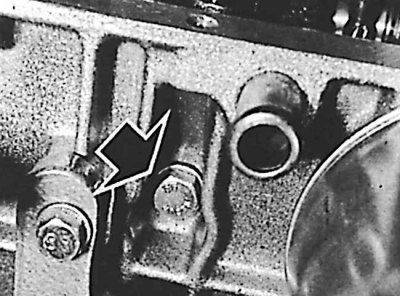 | 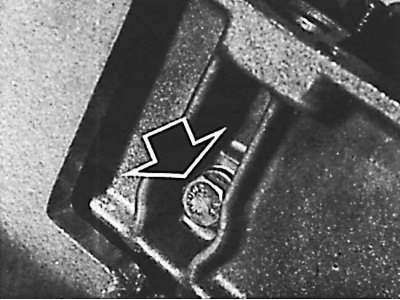 |
Mounting bolts are indicated by arrows.
1. Remove starter and gearbox.
2. Remove alternator, manifolds, ignition distributor and fuel pump.
3. Place the motor on a suitable holder.
4. Remove the camshaft drive belt.
5. Remove the cylinder head.
6. Install cylinder liner flanges.
7. Remove the clutch (driving part and disc).
8. Turn over the engine.
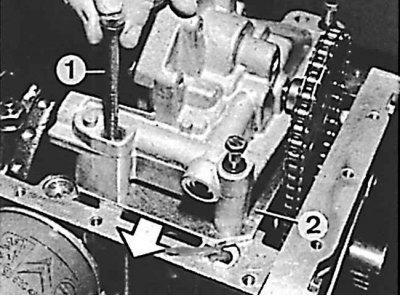
9. Remove oil pan (1 - special bolt, 2 - stand).
10. Remove oil pump. For this you should:
- unscrew the three pump mounting bolts;
- remove the stand by moving it in the direction of the oil filter;
- remove the chain from the pump sprocket, and then remove the pump.
11. Remove sealing ring from flywheel side.
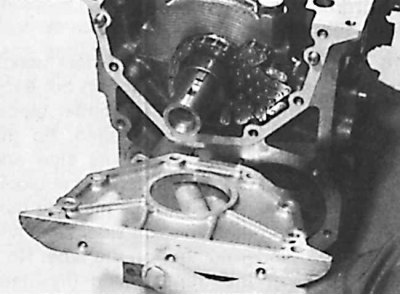
12. Remove bearing cap from camshaft side (6 bolts, including two short ones).
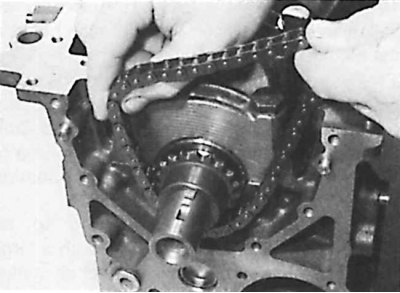
13. Remove the oil pump drive chain.
14. Remove the oil pump drive sprocket.
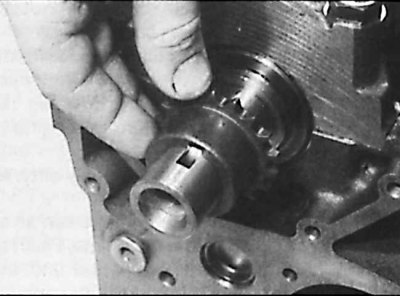
15. Remove the keyway from the crankshaft.
16. Paint each connecting rod cap with the corresponding cylinder number. Cylinder #1 is on the flywheel side.
17. Turn the crankshaft so that the pistons of cylinders 1 and 4 are at bottom dead center.
18. Unscrew the cylinder 1 connecting rod caps and remove them.
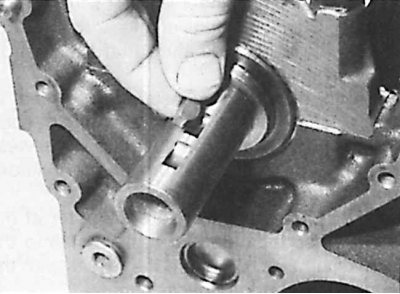
19. Using the handle of a hammer, push the piston of cylinder 1 up out of the cylinder block.
20. Remove the piston of cylinder 4, then rotate the crankshaft 180°and remove the pistons of cylinders 2 and 3.
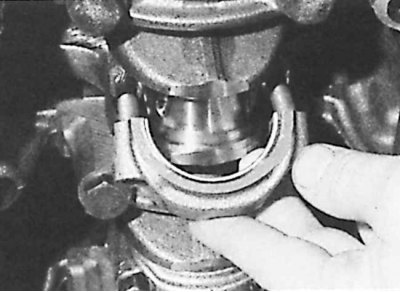
21. Remove the crankshaft bearing caps.
Attention! Two bolts on the outside of the cylinder block form the side mounting of the middle bearing cover (see fig. Bolts of lateral fastening of a cover of the average bearing of a cranked shaft).
22. Remove the crankshaft and remove the inner main bearings from the cylinder block.