
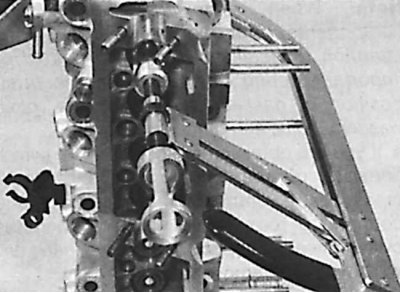
Disassembly
1. Position the cylinder head at the front and rear on two pieces of wood.
2. Remove the intake manifold together with the carburetor, as well as the exhaust manifold.
3. Remove distributor and fuel pump.
4. Remove the camshaft bearing cap from the flywheel side.
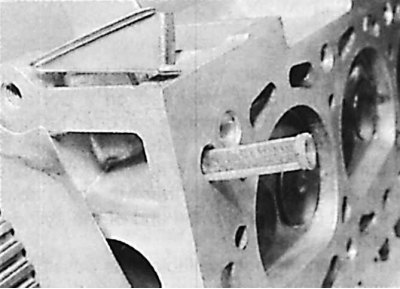
5. Remove the camshaft drive pulley, holding it with a special rod that serves to install the gas distribution.
6. Remove the plastic cover and oil line.
7. Remove the five camshaft bearing caps, and then remove the camshaft itself.
8. Using a special suction cup, remove the pushers. Mark the pushers, as well as the adjusting plates.
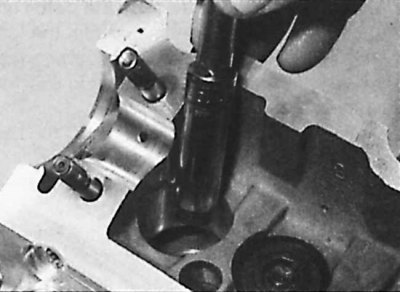
9. Using a standard tool, compress the valve spring.
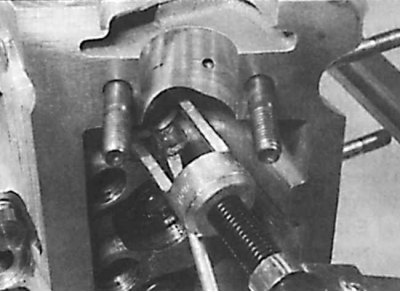
10. Remove valve cotters.
11. Remove the spring compressor and remove the upper spring plate.
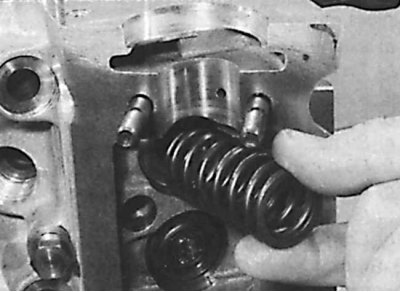
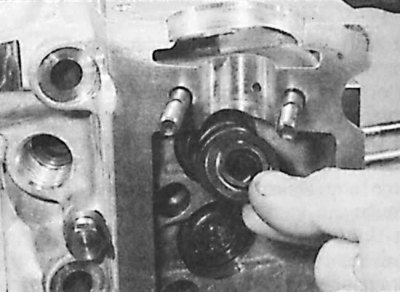
12. Remove valve spring.
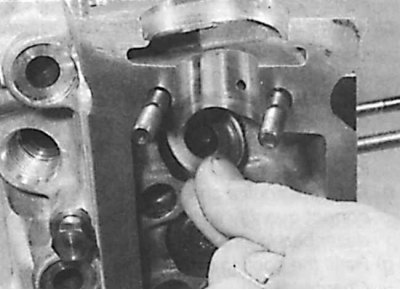
13. Remove the lower valve spring retainer.
14. Remove the valve from the back of the head. The valves are removed in order, starting from the drive side of the gas distribution mechanism. The valves must be marked with adhesive tape or laid out in such a way that they fall into place during assembly.
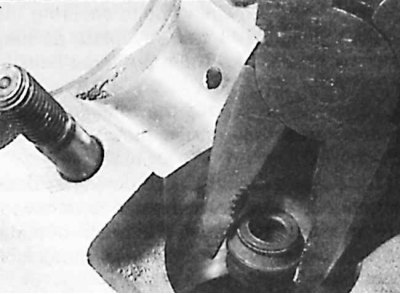
15. Remove oil seals.
16. Remove the additional oil filter from the oil channel.
17. Clean the connecting surfaces of the cylinder head (use Magnus Magstrip or Framet Decaploc).
18. Clean and thoroughly blow out all parts with compressed air.
Attention! Do not use tools that could scratch the parts to be cleaned.
19. Using a ruler and feeler gauge, check the flatness of the bottom surface of the cylinder head joint. The maximum flatness is 0.05 mm. The manufacturer does not allow grinding of the lower surface of the cylinder head connection during service repairs.
Replacing valve guides
If too much valve clearance is found in the guides, the guides must be replaced. This operation must be entrusted to a specialized workshop.
Attention! When replacing a valve guide, the corresponding valve seat must be reground.
Lapping of valves
The valves should be lapped using only fine-grained polishing paste.

1. Lubricate the surface of the valve seat with a small amount of paste and install the valve in the appropriate seat. Firmly press the rubber suction cup against the valve plate and rotate the valve in one direction or the other.
2. After the end of the lapping process, thoroughly clean all parts from dirt and paste and check the valve seat and disc. A solid opaque ring should be visible on both parts, which indicates the width of the valve chamfer.
3. Draw strokes on the valve disc ring with a pencil at a distance of about 1 mm evenly around the circumference, then insert the valve into the guide sleeve and turn it 90°, while slightly pressing the valve.
4. Take out the valve and check for streaks. If all strokes are erased, the valve can be finally installed. Otherwise, the lapping operation must be repeated.
5. Check the fit width of the valve disc.
6. Check tightness.
7. After grinding and lapping the valves, the cylinder head must be thoroughly cleaned.
Cylinder head assembly
Installing the oil seal on the valve stem
1. Carry out the steps in reverse order with respect to the disassembly process.
2. For each valve, proceed in the following order:
- place the valve in the guide, observing the appropriate position;
- install a new oil seal on the valve stem;
- install the lower plate, spring and upper plate;
- compress the valve spring with a special tool and insert crackers.
3. Remove the spring compressor.
4. Install pushrods in their original positions (as before disassembly) together with the corresponding adjusting plates.
5. Fit the camshaft, secure the bearing caps and camshaft side flange, tighten the bearing caps to 15 Nm.
6. Install the bearing seal on the timing side (tool 7.0153 E).
7. Install pulley.
8. Check and adjust valve clearance. Perform the final steps for assembling the cylinder head in the reverse order with respect to the disassembly process, i.e. install the oil line, flywheel side bearing cap, fuel pump, distributor, intake and exhaust manifolds (gaskets should be replaced).
9. Install coolant temperature sensors (if they were removed).
10. Install an additional oil filter in the oil line of the head.
11. Using a special rod, fix the camshaft pulley in the position of the gas distribution installation.