
- ball bearing puller - 0709;
- ball joint remover - 0216-G2.
Remove the steering gear in the following order:
- raise the front of the car and place it on supports;
- remove the wheels;
- turn away nuts of fastening of spherical pins of hinges of tips of steering draughts;
- disconnect the ball pins from the steering knuckle;
- drain the working fluid from the hydraulic circuit;
Attention! To prevent dirt from entering the power steering circuit, plug the two holes in the control valve and the two power steering pipes with plastic plugs.
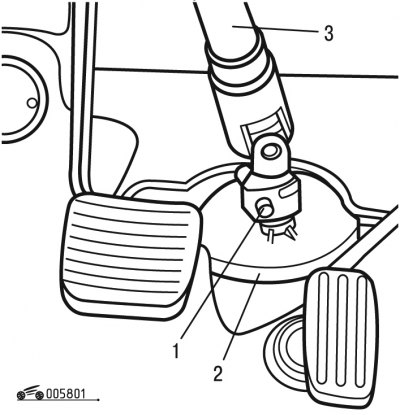
Pic. 8.1. Disconnecting the propeller shaft steering: 1 - bolt; 2 - gasket; 3 - steering wheel shaft
- unscrew bolt 1 (pic. 8.1);
- remove the cardan shaft 3 of the steering by removing the protective lock;
- remove gasket 2;
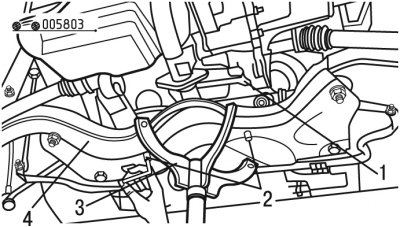
Pic. 8.2. Removing the exhaust pipe: 1 - nut; 2 - exhaust pipe; 3 - stabilizer bar mount
- remove the front exhaust pipe 2 (pic. 8.2);
- disconnect fastening 3 bars of the anti-roll bar on the rubber gasket;
- unscrew nuts 1;
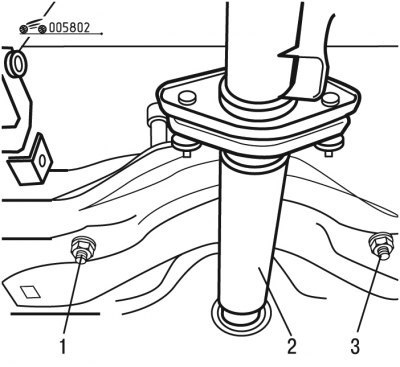
Pic. 8.3. Jack installation: 1 - stopper; 2 - hairpins; 3 - jack; 4 - subframe
- release the thrust from the stopper 1 (pic. 8.3) with the aid of a device;
- support subframe 4 with jack 3;
- unscrew the bolts securing the sub-frame to the body;
- move the subframe away from the body by 80 mm;
- unscrew pins 2;
- remove the toothed washers that are located between the steering gear and the sub-frame;
- remove the steering mechanism by sliding it into the left wheel arch.
Install the steering mechanism in the following order:
- install new studs 2 and self-locking nuts;
- replace the rubber sealing rings of the high and low pressure pipes of the hydraulic circuit;
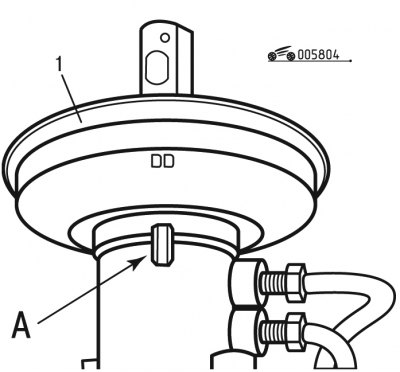
Pic. 8.4. Seal position: 1 - sealant; A - boss
- check the correct position of the seal 1 (pic. 8.4) on boss A in relation to the driver's side;

Pic. 8.5. Steering gear with hydraulic booster: 1 - mud covers; 2 - tubes; A - supporting surface
- lubricate bearing surface A (pic. 8.5) grease LUBRICOMET SP70;
- check the reliability of fixing the tube 2 with brackets and its connection with the corrugated dirt-proof covers 1;
- complete the installation of the steering mechanism in the reverse order of removal;
Attention! Studs 2 (see fig. 8.3) tighten strictly with a torque of 5 Nm. Torques greater than 5 Nm will result in destruction.
- fill in fresh working fluid in the hydraulic steering circuit and remove air from it;
- adjust the angles of the front wheels.