
2. Jack up the rear of the machine and support it on both sides, immediately in front of the trailing arms. Block the front wheels and put the car into gear.
3. While holding the shock absorber body, unscrew the 2 bolts securing it to the trailing arm (see photo).
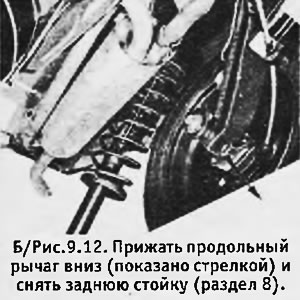
4. Press the trailing arm down and remove the column.
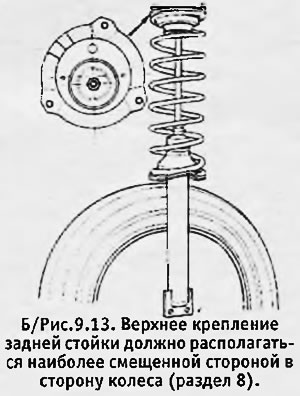
5. Installation of a back rack is made in reverse order. Make sure that the upper mount of the rack is located with the most displaced edge towards the wheel (see b/fig. 9.13). Install new washers on the 3 studs and tighten the nuts to the correct torque.
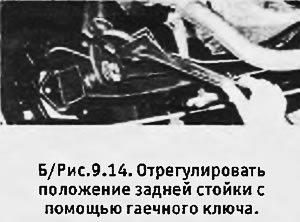
6. Check that the bottom of the strut is aligned with its mount on the trailing arm. If necessary, rotate the rack to achieve the desired result. Raise the trailing arm and install the front bolt with a new stop plate under the head.
7. Align the rear holes and install the rear bolt. Tighten both bolts, but do not fully tighten them yet.
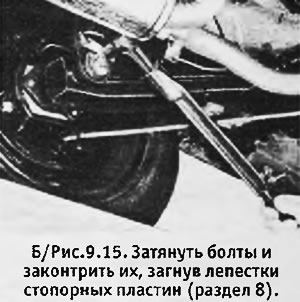
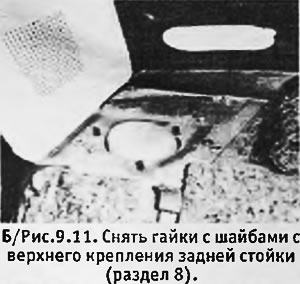
8. Repeat the above procedure on the second leg and lower the machine to the ground. Tighten both bolts on each leg to the correct torque and lock them by bending the tabs on the lock plates.