
2. To overhaul the middle mount, you will need a repair kit that includes all necessary washers. The details of the middle fastening and their relative position are shown in B / fig. 9.5.

3. Removal and installation of the stabilizer are discussed in the previous section, although in this case it is not necessary to completely remove the stabilizer. After disconnecting any of its ends, you can unscrew the clamping bolts of the middle mount and remove its parts from the stabilizer (having previously removed the outer mount).
4. Assemble the middle mount, following the order of its parts. Check that the aluminum bracket is properly installed and replace the 2 Nylstop nuts on the clamp bolts with new ones, with the bolts head first. Do not fully tighten the clamp bolts and nuts at this stage.
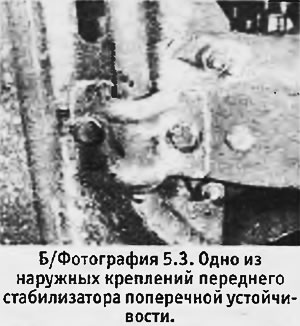
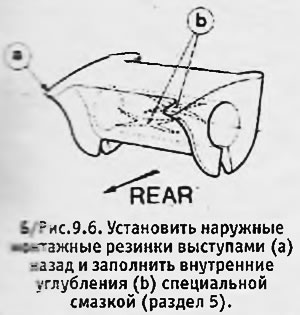
5. If new mounting rubbers are being installed on the outer brackets, check that the tabs on the flat surface of the rubbers are facing back. Lubricate the inner channels of the rubber bands well and fill their inner grooves with Kluber Proba 270 Altemp grease. Do not tighten the bracket bolts at this stage.
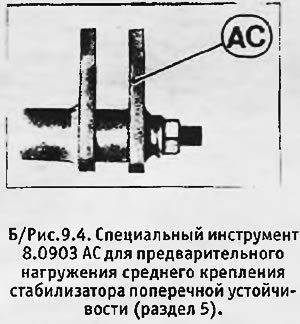
6. Install special tool (item N 8.0903, item AC) so that it engages with the 2 clips of the middle mount. Hand tighten the nut on the tool to compress the assembled parts.
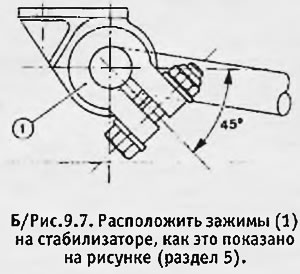
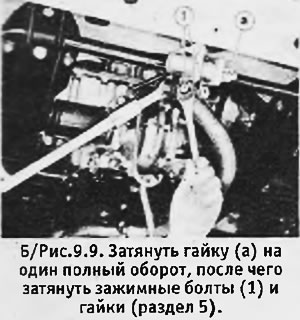
7. Tighten the bolts of the brackets of the external stabilizer mounts to the required torque and check that the clamps of the middle mount are placed as shown in B / fig. 9.7. With the special tool nut hand-tightened, mark the position of the nut and tighten it one full turn from that position. Then tighten the 2 clamping bolts with nuts to the required torque.
 |  |
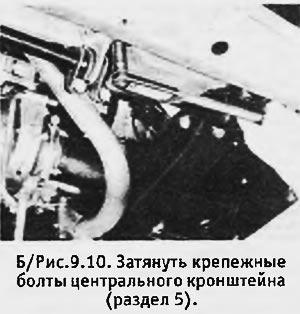
8. Remove the special tool and tighten the 2 bolts securing the stabilizer center support bracket to the correct torque.
 |  |
9. Check the toe angles of the front wheels (see section 13).