



Table of contents: Removal 🠇 Installation 🠇
Removal
Models with 1.4L engine
1. Remove the air cleaner assembly as described in paragraph 2.
2. Remove the fuel rail and injectors as described in paragraph 13.
3. If you have not already done so, disconnect the electrical connectors from the throttle body components, then release the wiring harness and position it away from the manifold.
Models with 1.6L engine
4. Remove the throttle body as described in paragraph 12.
All models
5. Release the clamps and disconnect the brake booster line and the purge valve line from the intake manifold (figure 14.5, a, b).
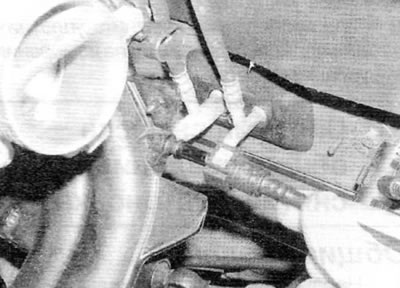
Figure 14.5, a. Disconnect the brake booster vacuum line...
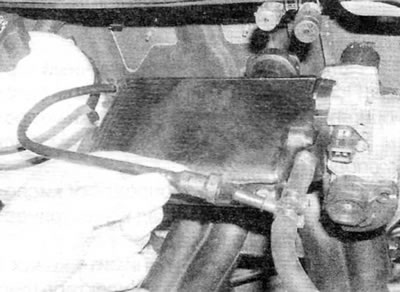
Figure 14.5, b....and the purge valve line from the intake manifold (the model shown is one with a 1.4L engine)
6. Disconnect all electrical connectors on the manifold, first marking their installation positions. Release the electrical wiring from all clamps.
7. Press the locking button, disconnect the fuel line and place it away from the manifold.
8. If necessary, remove the bolts and support bracket from the bottom of the manifold.
9. Loosen the manifold mounting nuts and remove the manifold from the engine compartment (figure 14.9). Remove the four manifold seals and discard them; when installing, new ones should be used.
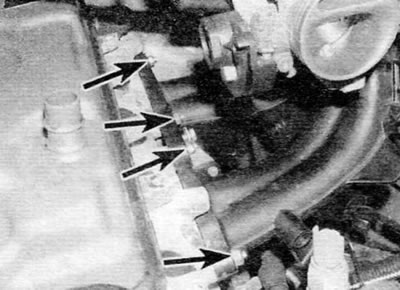
Figure 14.9. Upper intake manifold mounting nuts (marked with arrows) (the model shown is one with a 1.4L engine)
Installation
10. Installation is carried out in the reverse order of removal, taking into account the following points:
- a) Clean and dry the mating surfaces of the manifold and cylinder head, then install new seals into the corresponding grooves in the manifold (figure 14.10). Install the manifold and tighten the corresponding nuts to the specified torque.
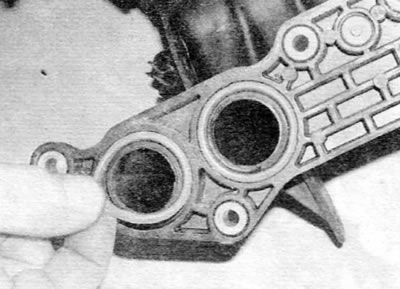
Figure 14.10. Before installation, properly install new O-rings on the manifold
- b) Connect all relevant hoses according to the original position and securely fix them with clamps (if applicable).
- c) Route the electrical wiring correctly and connect the electrical connectors securely.
- d) Finally, adjust the accelerator cable (if applicable), as described in paragraph 3.