



Removal
1. Remove the cylinder head cover as described in Section 4. On TUD 5 engines, remove the air cleaner assembly and intake pipe, as described in Chapter 4D.
2. Remove the camshaft sprocket (complete with hub on TUD 5 engines), as described in Section 7.
3. Remove the braking system vacuum pump from the left-hand end of the cylinder head as described in Chapter 9.
4. The camshaft bearing caps should be numbered 1 to 3, No 1 being at the transmission end of the engine1 (see illustration). If not, make identification marks on the caps using white paint or a suitable marker pen. Also mark each cap in some way to indicate its correct fitted orientation. This will avoid the possibility of installing the centre cap the wrong way around on refitting.
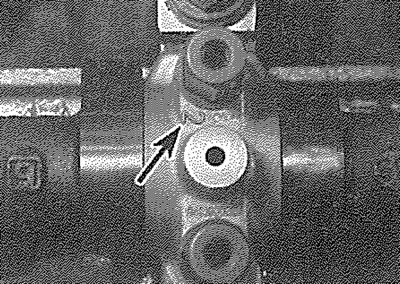
9.4. Identification numbers (arrowed) are cast onto the camshaft bearing caps
5. Evenly and progressively slacken the camshaft bearing cap retaining nuts (or bolts) by one turn at a time, in a spiral pattern starting from the outside. This will relieve the pressure of the valve springs on the bearing caps gradually and evenly. Once the valve spring pressure has been relieved, the nuts can be fully unscrewed and removed.
6. Note the correct fitted orientation of the bearing caps, then remove them from the cylinder head.
7. Lift the camshaft away from the cylinder head, and slide the oil seal off the camshaft end.
8. Obtain eight small, clean plastic containers, and number them 1 to 8. Alternatively, divide a larger container into eight compartments. Using a rubber sucker, withdraw each shim and follower in turn, and place it in its respective container. Do not interchange the cam followers, or the rate of wear will be much increased.
Inspection
9. Examine the camshaft bearing surfaces and cam lobes for signs of wear ridges and scoring. Renew the camshaft if any of these conditions are apparent. Examine the condition of the bearing surfaces both on the camshaft journals and in the cylinder head/bearing caps. If the head bearing surfaces are worn excessively, the cylinder head will need to be renewed. Since no dimensions are given by Peugeot, it is not possible to assess the amount of wear by direct measurement. Seek the advice of a Peugeot dealer or engine overhaul specialist before condemning the camshaft or cylinder head. On TUD 5 engines, if the camshaft or tappets are replacements, fit basic 3.20 mm shims.
Refitting
10. Liberally oil the cylinder head cam follower bores and the followers. Carefully refit the followers to the cylinder head, ensuring that each follower is refitted to its original bore (see illustration). Some care will be required to enter the followers squarely into their bores.
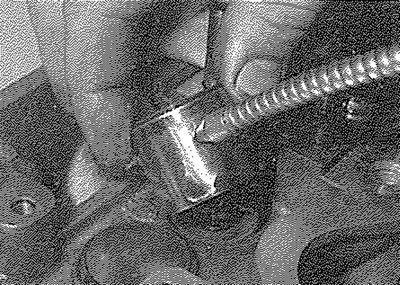
9.10. Oil the camshaft followers, and refit them to their original locations in the cylinder head
11. Ensure that all the shims are correctly seated in the top of each follower.
12. Lubricate the camshaft bearing and lobe contact surfaces with clean engine oil, then refit the camshaft to the cylinder head (see illustration). Temporarily refit the sprocket to the end of the shaft, and position it so that the sprocket timing hole is aligned with the threaded hole in the cylinder head (tips of No 4 cylinder cam lobes should be facing away from their followers). Also ensure that the crankshaft is still locked in position (see Section 3).
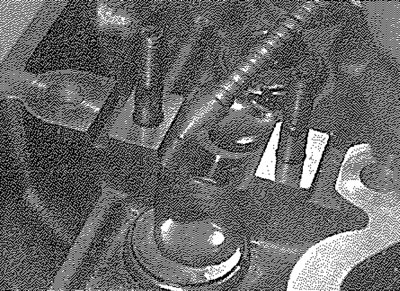
9.12. Thoroughly oil the camshaft bearing surfaces prior to installing the camshaft
13. Ensure that the bearing cap and head mating surfaces are completely clean, unmarked, and free from oil. Apply a smear of suitable sealant to Nos 1 and 3 bearing caps as shown (see illustration).
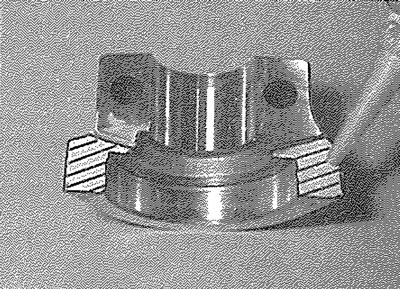
9.13. Apply sealant to the shaded areas of Nos 1 and 3 bearing caps.
14. Refit the bearing caps, using the identification marks noted on removal to ensure that each is installed the correct way round and in its original location (see illustration).
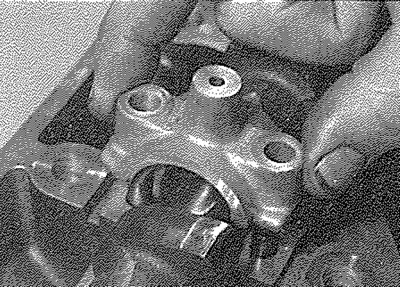
9.14. Install the bearings caps, using the identification markings to ensure they are correctly positioned...
15. Evenly and progressively tighten the camshaft bearing cap nuts (or bolts) by one turn at a time in a spiral pattern, starting from the inside until the caps touch the cylinder head. Then go round again and tighten all the nuts (or bolts) to the specified torque setting (see illustrations). Work only as described, to impose the pressure of the valve springs gradually and evenly on the bearing caps.
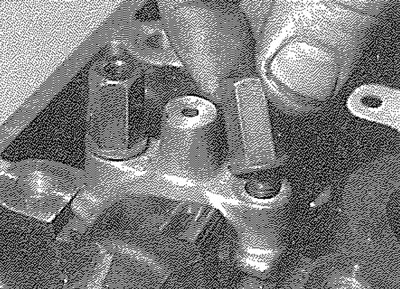
9.15a.... and refit the retaining nuts...
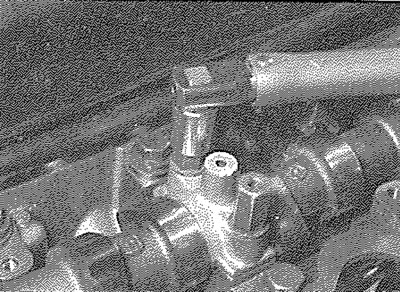
9.15b.... tightening them evenly and progressively to the specified torque setting
16. Fit a new camshaft oil seal, using the information given in Section 8. Refit the camshaft sprocket as described in Section 7 and timing belt described in Section 6.
17. Check and, if necessary, adjust the valve clearances as described in Section 10.
18. Refit the braking system vacuum pump as described in Chapter 9.
19. Refit the cylinder head cover as described in Section 4. On TUD 5 engines refit the air cleaner assembly and intake pipe. Reconnect the battery negative terminal.