



1.9L engines
Removal
1. Release the clips on the right side and on the top plane of the engine cover, and then remove the cover, being careful not to let the corresponding rubber supports fall out (figure 4.1, a-c). Disconnect the ground cable from the battery (see "Disconnecting the battery").
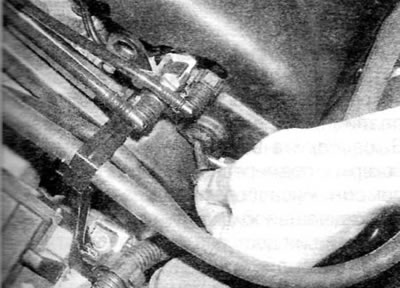
Figure 4.1, a. Remove the fasteners on the right side...
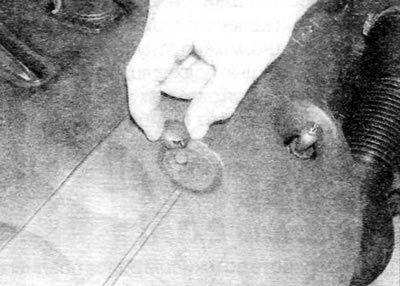
Figure 4.1, b... and on the upper plane of the engine cover...
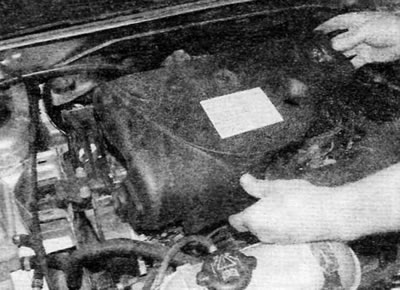
Figure 4.1, c....and then remove the cover (1.9 L engines)
2. Remove the upper section of the intake manifold as described in chapter 4B.
3. Remove the bolts securing the EGR pipe to the top of the exhaust manifold and the cylinder head cover. Separate the line from the manifold and position it away from the cylinder head cover. Remove the gasket and discard it; when installing, you should use a new one.
4. Loosen the clamps and disconnect the ventilation hoses from the upper section of the cylinder head cover.
5. Remove the eight bolts and then remove the upper section of the cylinder head cover along with the associated rubber seal.
6. Unscrew the three bolts and remove them together with the washers, then remove the lower section of the cylinder head cover together with its rubber seal.
7. Inspect the cover seals for signs of damage or deterioration and replace if necessary.
Installation
8. Thoroughly clean the mating surfaces of the cylinder head and cover and remove all traces of oil.
9. Install the rubber seals onto both sections of the cylinder head cover, ensuring that they are correctly positioned along their entire length.
10. Install the lower section of the cylinder head cover. Make sure the rubber seal is still properly positioned, then screw in the cover mounting bolts (don't forget to install the washers) and tighten them to the specified torque.
11. Install the upper section of the cover onto the lower section, ensuring that the seal remains in the correct position, and tighten the corresponding bolts to the specified torque.
12. Connect the ventilation hoses to the top section of the lid.
13. Install the EGR pipe and intake manifold as described in chapter 4B.
2.0L engines
Removal
14. Remove the upper timing belt cover as described in paragraph 6.
15. Loosen the clamps securing the crankcase ventilation hose to the center and left end of the cylinder head cover and disconnect the hoses.
16. If necessary, remove the bolts and move the engine cover and cable guide support bracket away from the right end of the cylinder head cover.
17. Disconnect the camshaft position sensor electrical connector.
[Original is located at PeugeotBook.ru]
18. Release the wiring harness from the clip on the cylinder head cover and move the wiring harness to the side.
19. Unscrew the bolts securing the cylinder head cover to the camshaft housing and remove the washers. Carefully remove the cover, being careful not to damage the camshaft position sensor when removing the cover (figure 4.19). Remove the seal from the lid.
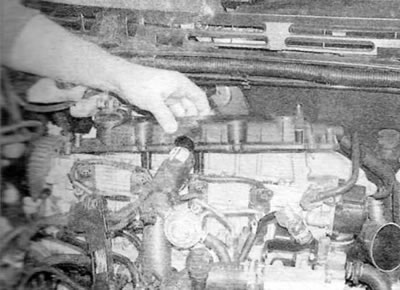
Figure 4.19. Removing the cylinder head cover for 2.0L engines
Installation
20. Installation is carried out in the reverse order of removal, taking into account the following points:
- a) Inspect the cover seal for signs of damage or deterioration and replace if necessary.
- b) Tighten the cylinder head cover mounting bolts to the specified torque.
- c) On early engines with a two-section toothed camshaft pulley (see paragraph 9) Before installing the upper timing belt cover, adjust the camshaft position sensor air gap as described in chapter 4B.