



Note: New and remanufactured cylinder heads are available from both the manufacturer and engine overhaul/remanufacturing specialists. You should be aware that disassembly and inspection require some special tools and new parts may not be available at a given time. Therefore, when performing repairs yourself, it may be more practical and economical to purchase a remanufactured head rather than disassembling, inspecting, and remanufacturing the original head from your engine.
1. Remove the cylinder head as described in chapter 2A.
2. Remove the intake and exhaust manifolds (see chapter 4A), if you haven't already done so. Remove any remaining brackets or housings if necessary.
3. Remove the camshaft, hydraulic lifters and valve levers (whichever is applicable), as described in chapter 2A.
4. Remove the spark plugs as described in chapter 1A, if you haven't already.
5. Using a valve spring compressor, compress the spring of each valve in turn. This will allow you to remove the breadcrumbs (figure 6.5). Release the tool and remove the spring plate and the spring itself.
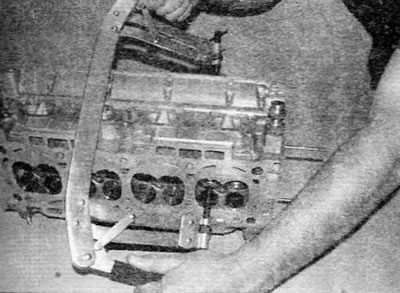
Figure 6.5. Compress the valve spring with a suitable spring puller until the valve spring can be removed
6. If, when compressing the valve spring with the tool, the spring plate does not want to be released and does not open the crackers, carefully tap with a light hammer on the top of the tool, directly above the plate. This will release the plate.
7. Remove the valve through the combustion chamber, and then use pliers to carefully remove the oil seal from the top of the valve guide (figure 6.7). Remove the lower spring plate, if present.
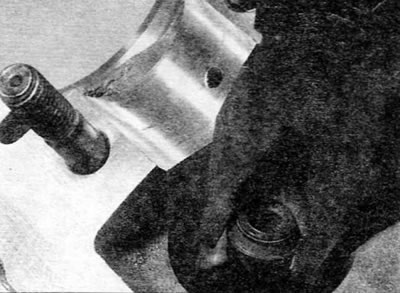
Figure 6.7. Remove the valve stem seal with pliers
8. Be sure to store each valve together with its crackers, plate, spring and bottom plate. Also, valves should be stored in the correct sequence unless they are so worn that they require replacement. If they are to be stored and used later, place each valve and its components in a labeled plastic bag or similar small container (figure 6.8). Keep in mind that valve #1 is the valve closest to the end of the engine where the transmission (flywheel) is located.
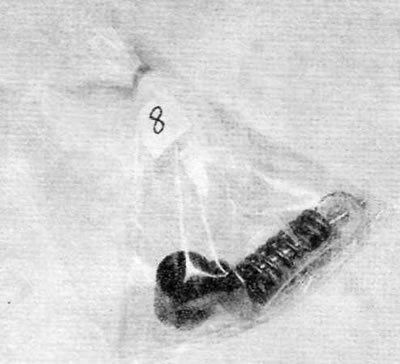
Figure 6.8 Place each valve and associated components in a labeled bag