



Table of contents: Checking the adjustment of the input…🠇 Removal the outer ring from the…🠇 Adjustment 🠇
Install the front bearing (30) using tools 5 and 7b and a press.
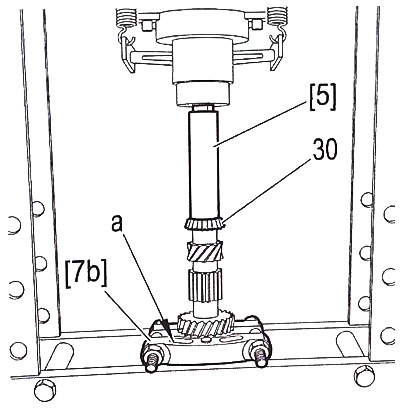
Note: The flat side "a" of the 7b tool must face the gear so as not to rest against the teeth.
Install:
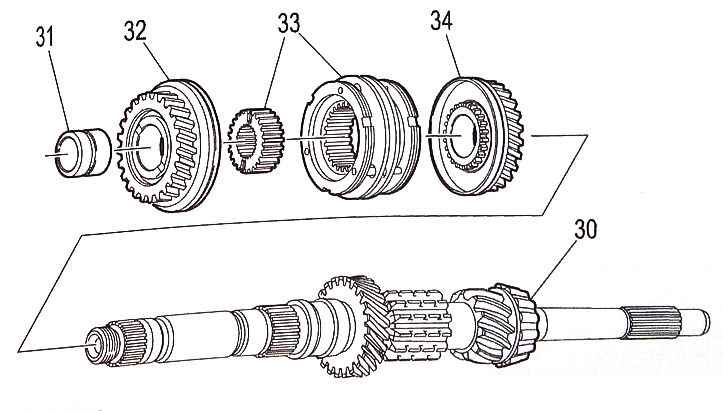
- 3rd gear drive pinion (34);
- synchronizer clutch with its hub (33) (observe the markings made during disassembly);
- the leading gear (32) of the 4th was transferred and its thrust sleeve (31).
Install the rear bearing (35) using tools 5 and 7b and a press.
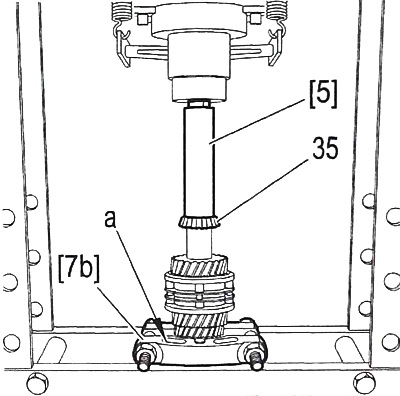
Note: The flat side "a" of the 7b tool must face the gear so as not to rest against the teeth.
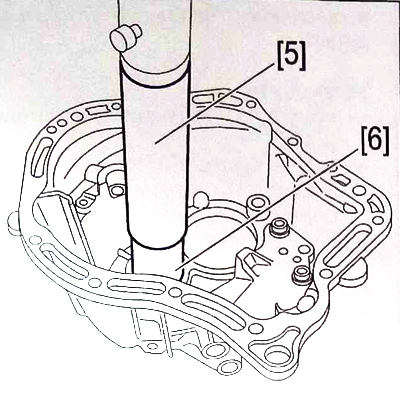
Place the ring on a metal spacer to avoid damaging it.
Press the new outer bearing ring into the crankcase using mandrels 6 and 5.
Checking the adjustment of the input shaft bearings (removing the outer ring from the clutch housing side)
Remove the outer bearing ring (36) using mandrel 6.
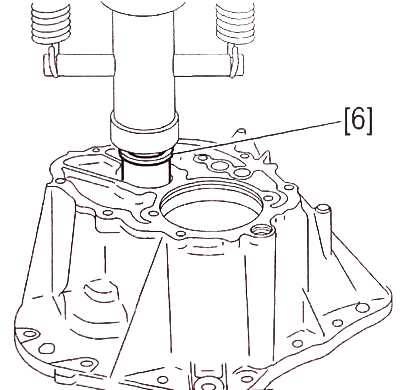
Press the new outer bearing ring into the crankcase using mandrels 4 and 6.
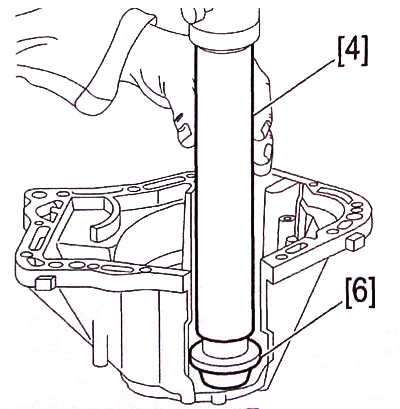
Removal the outer ring from the gearbox housing side
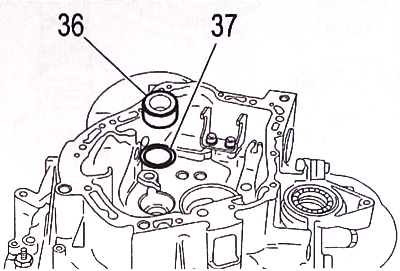
Remove the outer bearing ring (36).
Measure the thickness of the ring (37).
Replace the adjusting ring (2) with a ring that is 0.20 mm thinner.
Install the outer bearing ring (36) of the primary shaft.
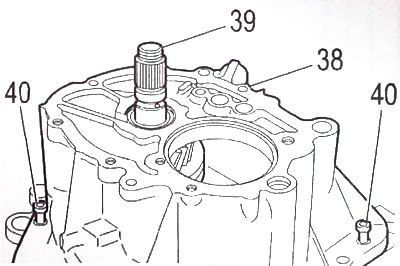
Install:
- primary shaft (39) (new);
- gearbox housing (38);
- bolts (40) (one bolt out of two) tighten to 125 Nm.
Turn the shaft a few revolutions.
Adjustment
Install the input shaft nut with the bearing surface facing outward. Lightly tighten the nut (41).
Install indicator 11 on brackets 8, 9 and 10.
Place the feeler gauge against the nut (41).
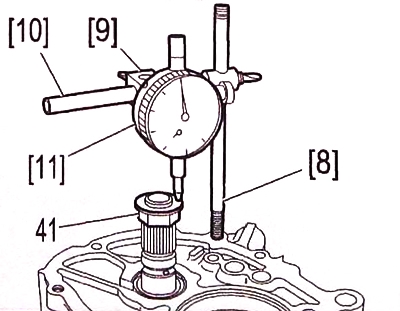
Press the shaft axially downwards.
Set the indicator to zero.
Press the shaft axially upward.
Measure the value:
- the gap should be within the range of 0.05 to 0.15 mm;
- if the value shown by the indicator is incorrect, adjust the gaps again.
Remove:
- indicator 11 on brackets 8 9 and 10;
- nut (41);
- bolts (40);
- gearbox housing (38);
- primary shaft (39).