



Table of contents: First installation 🠇 Second installation 🠇
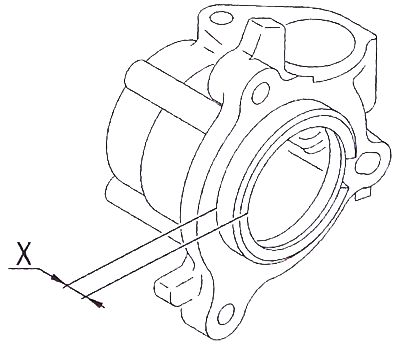
"X" is the shoulder of the console part. Measure the size of "X".
First installation
Shoulder of console part "X": 10 mm.
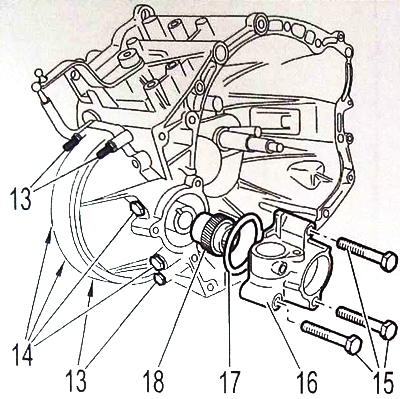
Install:
- speedometer drive worm(18);
- console part (16) with seal (17) (new).
Tighten:
- bolts (15) with a torque of 15 Nm;
- bolts (14) with a torque of 50 Nm;
- bolts (13) with a torque of 125 Nm.
Second installation
Shoulder of console part "X": 8.65 mm.
Install the 2 bearing adjusting ring onto the outer bearing ring and the extension without the sealing ring.
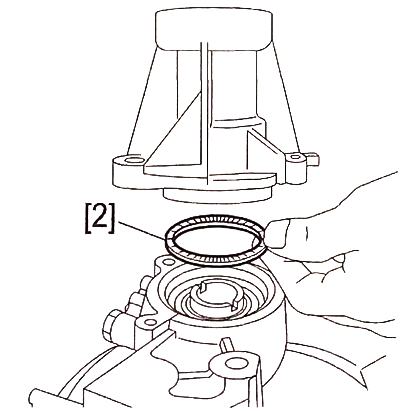
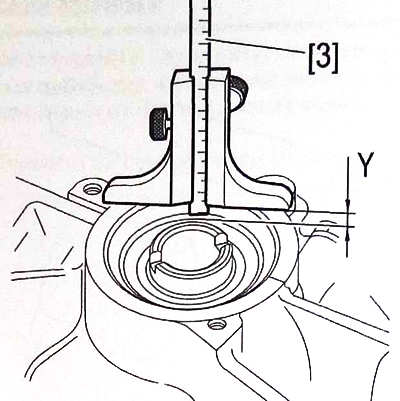
Gradually tighten the bolts on the console section, rotating the differential to obtain the angle required to set the bearing races in the correct position. Remove the differential housing extension and adjusting ring. Using a depth gauge 3, measure the distance "Y" from the joint plane to the outer bearing race.
Select the thickness of the adjusting shim using the formula: Y - X + 0.1 mm = thickness of the adjusting shim.
Install:
- washer (19);
- speedometer drive worm (18);
- extension (16) with a new sealing ring (17) installed.
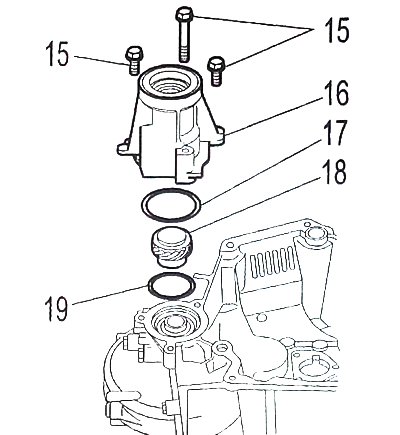
Tighten the bolts (15) to 15 Nm.
Tighten:
- bolts (14) with a torque of 50 Nm.
- bolts (13) with a torque of 125 Nm.
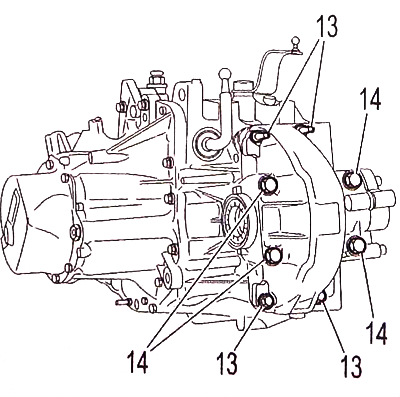
Note: This order of work allows you to ensure alignment of the connecting planes.