10. Remove the battery and its platform.
11. Remove the hood cover (see chapter 11, section 7).
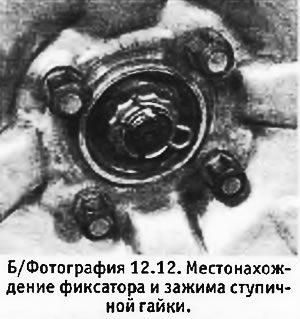
12. Loosen the bolts of one of the front wheels and then remove one bolt of the hub cap. Remove fasteners and loosen hub nut (see photo). This nut is very tight. Remove the nut with washer. Repeat the above operations on the second front wheel and securely support the front of the machine. Remove front wheels.
13. If the machine has wheels without center holes, they must be removed in order to get to the hub nuts. In this case, you can use a metal bar with a bolt hole drilled in it, which is attached to the hub and does not allow it to turn while removing the hub nut. Be careful not to knock the machine off the supports while removing the nuts.
14. Drain the oil from the transmission by removing the drain plugs of the gearbox and final drive housing. Upon completion, replace the plugs. On the latest models, there is only one drain plug, which is located on the final drive housing.
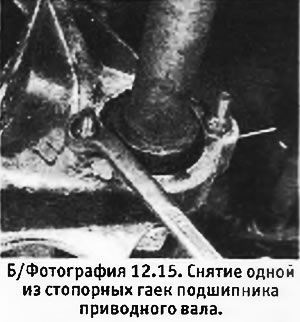
15. Loosen the 2 lock nuts and, turning each bolt half a turn (180°), release the right drive shaft bearing (see photo).
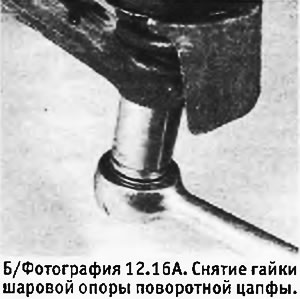
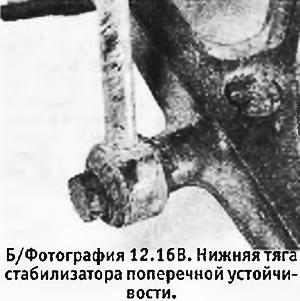
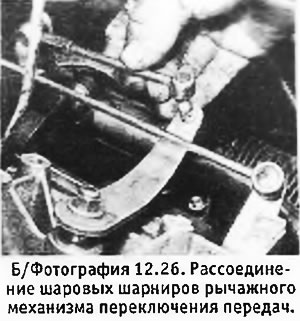
16. Unscrew the nuts of the ball bearings of the pivot pins and disassemble the ball bearings (one on each side) using a special disconnector. Remove the ball joint nuts. Remove the tie rods and lower anti-roll bar mounts (see pictures).
 |  |
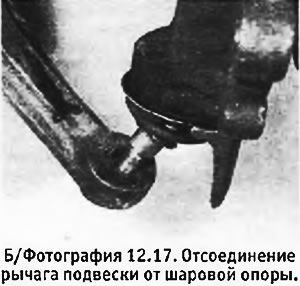
17. Disconnect the left suspension arm from the ball joint strut by pushing the arm down. Be careful not to damage the ball joint rubber boot (see photo).
18. Disconnect the left drive shaft from the hub by turning the latter outward. If the drive shaft has a very tight fit in the hub, it may be necessary to remove the brake disc and caliper in order to install a puller and push the shaft out of the hub. Do not try to knock the shaft out with a hammer.
Attention: it is forbidden to move the machine with the drive shafts disconnected.
19. Pull the left drive shaft out of the final drive housing.
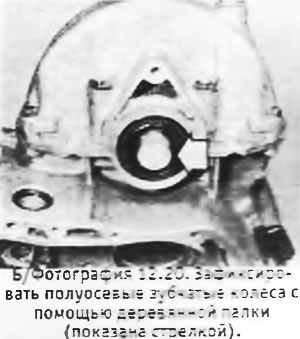
20. Fix side gears in place with tools "Peugeot" 8.0317 M and 8.0317 N. If you do not do this, the semi-axle wheels may fall into the differential box. In the absence of special tools, you can get by with a wooden stick with a diameter of 2.54 cm, slightly ground off from the end that will be inserted into the splines of the semi-axle wheel (see photo).
21. Disconnect the right drive shaft following the steps in paragraphs 17-19.
22. Remove the air cleaner with air channels.
23. Remove the starter.
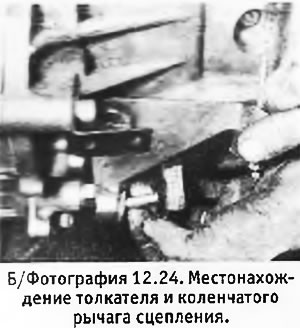
24. Disconnect the clutch cable from the gearbox side. Pull pushrod out of crank arm (see photo).
25. On models with power steering, unscrew the bolts, remove the power steering pump together with its bracket and place it on the engine. There is no need to disconnect the tubing from the pump.
26. To disconnect from a box the lever mechanism of a gear change.
27. Remove the cover from the bottom of the clutch housing.
28. Disconnect wiring from reversing light switch and clutch cable.
29. Connect the hoist to the tab at the top of the box and lift it up a little to take its weight off the cushions.
30. Remove the nut from the transmission mount stud.
31. Slightly lower the box so that it and the engine are in a stable position (the tal does not sag, but is not stretched either).
32. Remove 4 bolts securing the box to the engine.
33. Take the gearbox away from the engine so that the drive shaft disengages, lower it to the floor and pull it out from under the car.
34. The gearbox is installed in the reverse order. Pay attention to the following points:
- A. Apply some molybdenum grease to the drive shaft of the box.
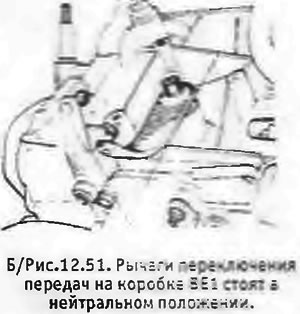
- b. Check that the gearshift levers are in the neutral position (see b/fig. 12.51).
- V. When installing the right drive shaft, use the oil seal protector (attached to new seals).
- d. Tighten all fasteners to the correct torque and replace the nuts on the ball joints of the pivot pins with new ones. Check that the drain plugs are securely tightened.
- e. Pour the right amount of oil into the box.
- e. Check the operation of the gear lever mechanism and adjust it if necessary.