



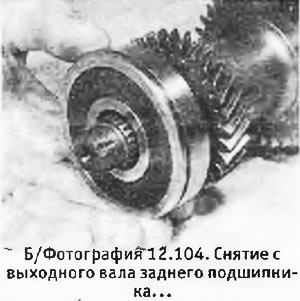
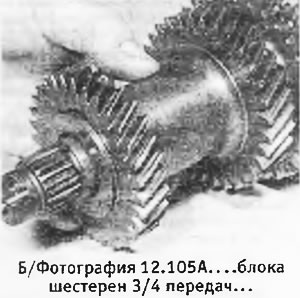
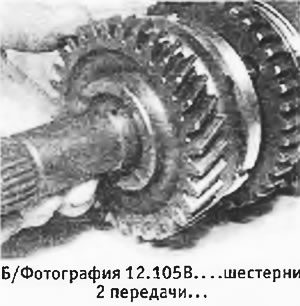
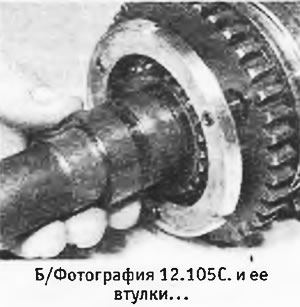
105. Remove the 3/4 gear block, and then the 2nd gear with its sleeve (see photos).
 |
 |
106. Mark the relative position of the hub and the 1/2 gear synchronizer sleeve and remove them from the shaft (see photos).
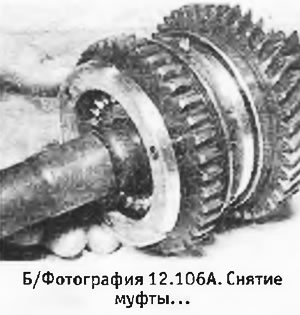 |
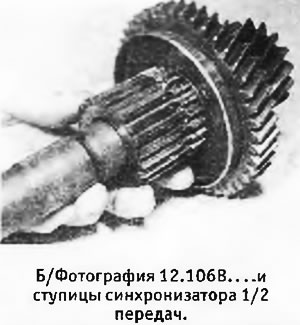 |
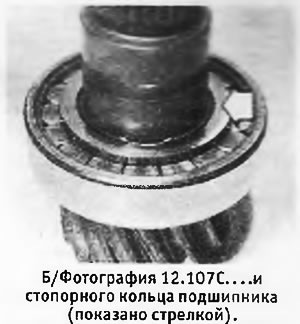
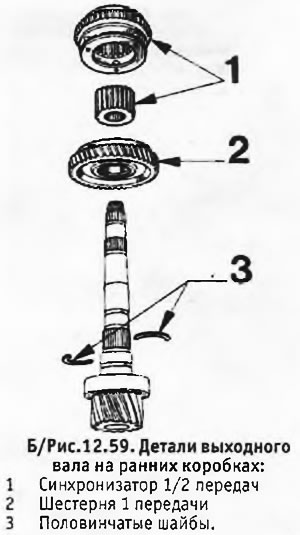
107. Remove the 1st gear pinion with half washers (early models) or a thrust needle bearing and retaining ring (latest models) (see photos).
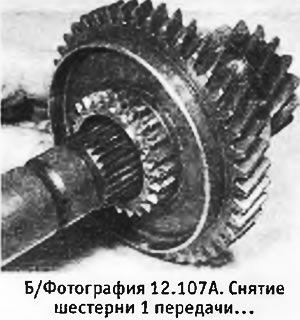 |
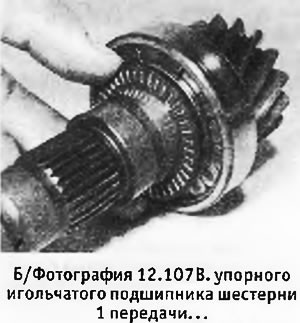 |
 |
 |
108. Press out or protrude the shaft from the bearing on the side of the main gear drive pinion, taking care not to damage its end.
109. Before starting assembly of the shaft, check that there are no scratches or signs of wear on it. Lubricate all parts as they are installed.
110. Install the bearing onto the shaft from the pinion side of the final drive, using a suitable tube to press it into place. On later models, install a new retaining ring.
111. Install half washers over the bearings, securing them in place with grease. On the latest models, install a thrust needle bearing instead of washers.
112. Install the 1st gear gear, making sure that the half washers do not shift (if applicable).
113. Install the 1/2 gear synchronizer, aligning the marks made during disassembly. The chamfer on the outer teeth of the synchronizer should be on the side of the 1st gear.
114. Install the 2nd gear with its sleeve.
115. Install the 3/4 gear block.
116. Install the rear bearing so that the groove for the retaining ring is on the end of the shaft.
117. Install the 5th gear (where applicable) with a tide towards the bearing. On early 4-speed gearboxes, install a washer; on later ones, install a spacer gasket.
118. Install a new nut onto the end of the shaft without tightening it yet. The output shaft assembly is complete.