
2. To disconnect the drive shafts from the final drive, the manufacturer recommends dismantling the right front suspension so that you can move the front strut to the side and pull out the right drive shaft. However, we found that with the engine hanging freely on the hoists, it was possible to disconnect the drive shafts without touching the front suspension. This has been done on the SR model and is possible (though doubtful), that on other models the front suspension will still have to be disassembled. In any case, you should first try to do without disassembling the suspension. If this does not work, you will have to disassemble the right front suspension (see chapter 9) and then disconnect the right drive shaft.
3. Position the machine so that the engine is directly under the lift and check that there is enough room to roll the machine back after the engine and gearbox have been raised.
4. Block the rear wheels and apply the handbrake.
5. Raise and support the hood cover. Mark the position of the lid hinge brackets on the hood so that they can then be installed exactly in their original position. Unscrew the fixing bolts of the brackets and support the rack. Remove the hood cover.
6. Disconnect the wires from the battery and remove it (see chapter 10).
7. Drain the liquid from the cooling system (see chapter 2). Drain the oil from the engine and replace the oil pan plug.
8. Remove the radiator (see chapter 2).
9. Remove the air cleaner and air intake (see chapter 3).
10. Disconnect the hoses from the engine (e.g. brake servo manifold, heater hoses, etc.). After disconnecting the fuel supply hose, plug its end temporarily to avoid leakage of coolant.
11. Disconnect the ignition wires from the spark plugs, remove the distributor cover and remove it from the engine along with the wires.
12. Disconnect the wiring from the following parts (memorizing the position):
- A. Coolant temperature sensor.
- b. Oil pressure switch.
- V. Ignition coil.
- d. Radiator temperature sensor (fan thermal switch).
- e. Starter solenoid.
- e. Ground wire - from the top of the timing case.
- and. Reversing lights switch.
It is not necessary to disconnect the wires from the generator. Instead remove the alternator (see chapter 10) and turn it away from the engine. Similarly, when disconnecting the wires from the voltage regulator, unscrew the bolts securing it to the inner wall on the arch of the left front wing, and turn the regulator away from the engine compartment so that it does not interfere.
14. Disconnect the throttle and choke cables from the carburetor.
15. Disconnect the exhaust pipe from the manifold at the front of the engine.
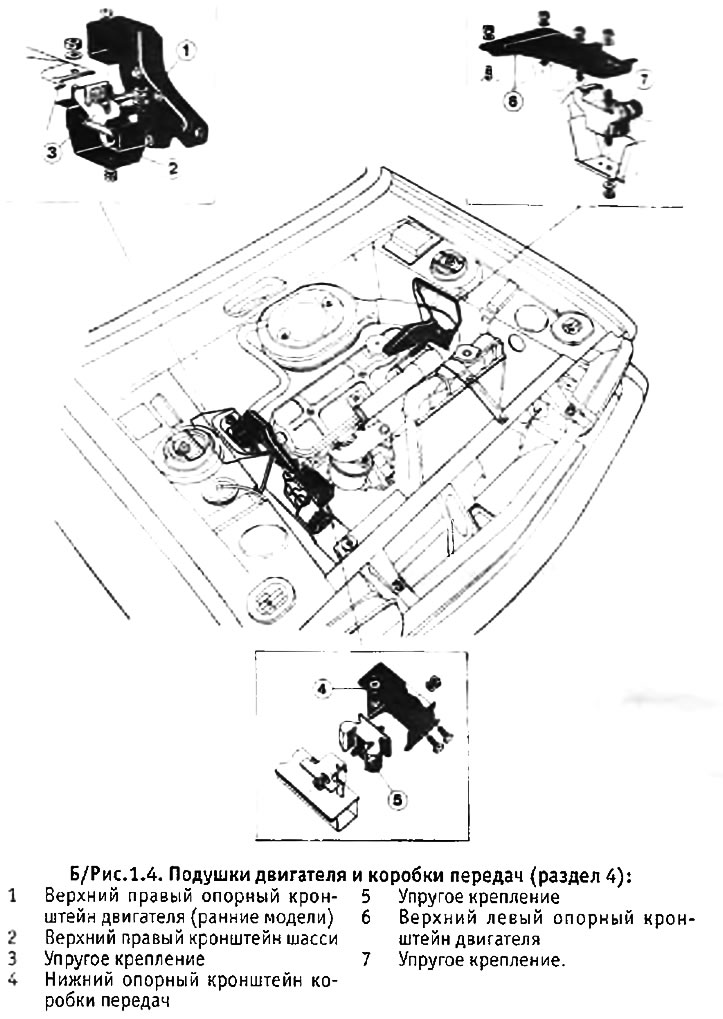
16. To disconnect the lever mechanism of a gear change. The work will be facilitated if you first remove the intake manifold support column. Disconnect the ball joint cup at the end of the shift rod and the ball joint cup on the shift clevis, and then unscrew the bolt that secures the ball joint of the gear shift rod to the gear shift cover (see fig. 1.3).

17. Jack up the front of the machine and support it with supports under the front subframe (as an option, you can install repair ramps under the front wheels).
18. Remove the front section of the exhaust pipe from the engine.
19. Disconnect the clutch cable (see chapter 5).
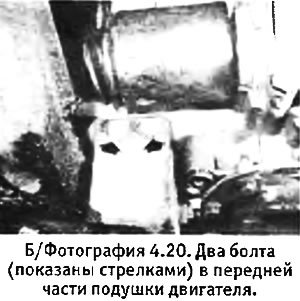
20. Remove the three bolts from the lower engine mount (two are on the front and one is on the back) (see photo).
21. Connect the hoists to the two lugs at the rear of the cylinder head and raise the engine with a hoist just enough to remove it from the cushions.
22. Disconnect the upper engine mounts and remove the support brackets from the engine so that they do not interfere.
23. Raise the engine so that it is clear of the bottom cushion, and at the same time pull it forward so that the rear end of the gearbox housing is clear of the steering gear.
24. Loosen the locknut, unscrew the screw and pull the speedometer drive cable out of the gearbox.
25. Check that everything is disconnected from the engine and gearbox.
26. Turn one of the front wheels all the way to the side so that its drive shaft can be pulled out. Carefully lift the engine and move it away from this wheel, disconnect the drive shaft. Disconnect the second drive shaft in the same way. Support both shafts on a subframe and carefully lift the engine with gearbox out of the engine compartment. If necessary, roll the machine back so that you can lower the engine with the box to the ground.