



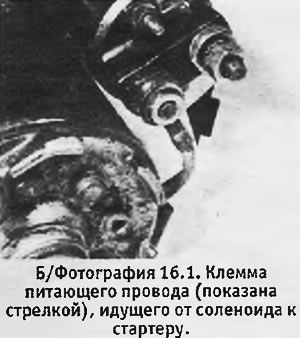
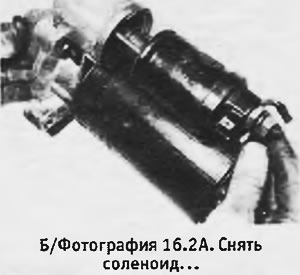
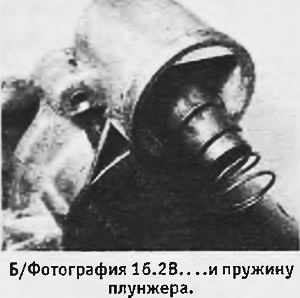
2. Unscrew and remove the 2 nuts of the through bolts of the solenoid. Remove the bolts and solenoid (the anchor will remain in the starter). Remove the solenoid spring (see photos).
 |
 |
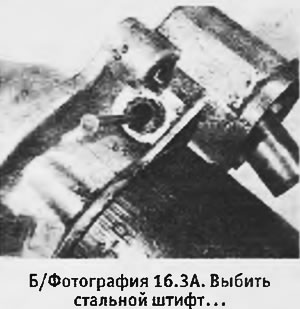
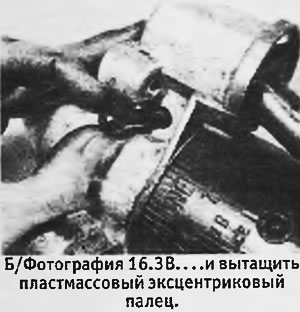
3. The horizontal plastic pin on which the solenoid lever rotates has an eccentric installation, which allows you to adjust the depth of engagement of the starter gear with the ring gear. It is important to maintain the position of this finger when assembling the starter. Carefully mark the position of the pin head relative to the adjacent surface, knock out the central metal pin and remove the plastic pin (see photos).
 |
 |
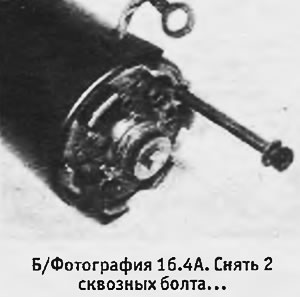
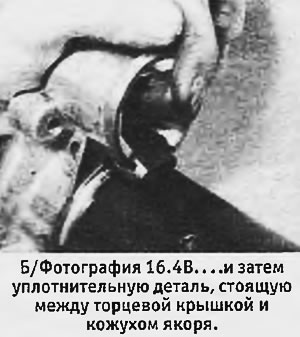
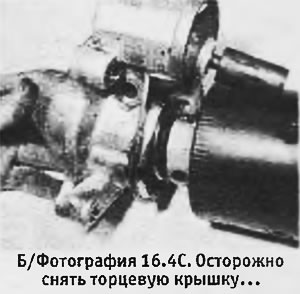
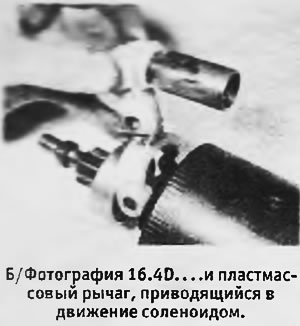
4. Note that the starter motor is secured to the end cover on the pinion side using a mounting tab. Loosen and remove the 2 bolts securing the starter to the end cover. Remove the seal between the end cap and the starter and carefully remove the end cap, leaving the solenoid operated lever engaged with the ring on the armature. After this, remove the lever from the ring (see photos).
 |
 |
 |
 |
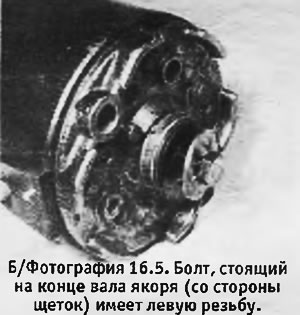
5. Carefully remove the rubber boot from the brush holder plate that protects the end of the armature. Clamp the end of the armature shaft (from the gear side) in a vice with soft jaws and unscrew the bolt from the other end of the shaft (from the brush side). This bolt has a left-hand thread. Pay attention to the washers and lock plate under the bolt head and remember their relative positions, as they must be installed in the same order during assembly (see photo).
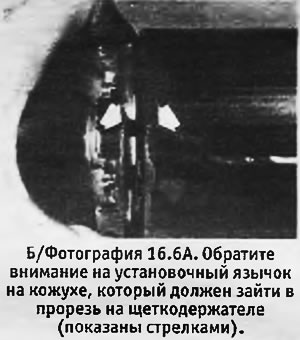
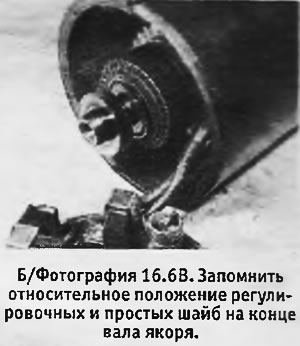
6. Please note that the brush holder is secured to the motor casing with a mounting tab. Carefully remove the brush holder from the armature and pull it out of the casing. Note the relative position of the adjusting washer and the wave washers located on the end of the armature shaft on the brush holder side. When assembling, they must be installed in the original sequence. Do not attempt to remove the brush holder from the housing; it is held in place by the field wire.
 |
 |
7. Inspect the brushes for wear and check their length and fit in the brush holder (see photo). Clean them from dirt using a lint-free cloth soaked in gasoline. If the brushes get stuck in the brush holder, you can lightly file them with a fine file (at the same time, make sure that the brushes do not become too loose).
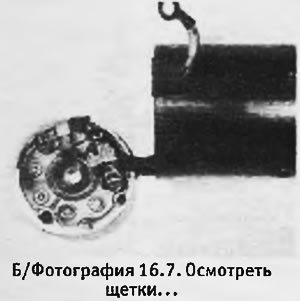
8. Remove the anchor from the starter housing (see photo), clean it from dirt using a lint-free cloth soaked in gasoline and inspect the commutator electrodes. If they are coated with a shiny film or dirty, clean them carefully with glass paper.
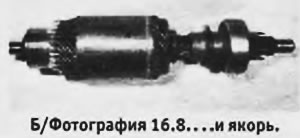
9. If there are deep grooves or traces of sparking on the electrodes, or if the armature shaft is bent, the starter should be taken to a specialist for repair and possibly replacement.
[Original published on the portal: peugeotbook.ru]
10. The starter is assembled in reverse order. It is extremely important that the adjusting washers are installed in their original locations. Check that the mounting tabs fit correctly into the slots provided for them. The solenoid lever pivot pin must also be returned to its original position.