English Русский
Български
Беларускі
Український
Српски
Hrvatski
Română
Polski
Slovenský
Magyar
Bookmark Articles Sitemap Contacts
Company Hyundai Company Opel Company Skoda Company Kia Company Mitsubishi Company LADA Company Audi
PeugeotBook.ru


Series 100   Series 200   Series 300   400-500   Series 600   Crossovers   Others
 
Peugeot 305 (1977-1989) Peugeot 306 (1993-2002) Peugeot 307 (2001-2008)

Air cleaner and air filter — removal and installation (Peugeot 305)

  • Main
  • 30X
  • Peugeot 305 (1977-1989)
  • Power unit
  • Fuel system (diesel)
  • Air cleaner and air filter — removal and installation
0
Table of contents: Air filter (309 turbocharged models)…🠇 Air filter (405 models) - removal…🠇 Air distribution box (405 models…🠇 Intermediate radiator (405 models…🠇
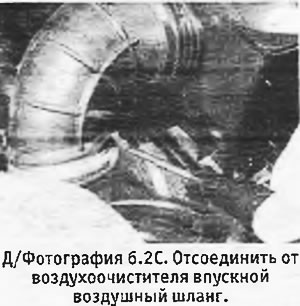
1. On 205 and 309 models, disconnect the air intake duct from the tube on the front panel (see photo).
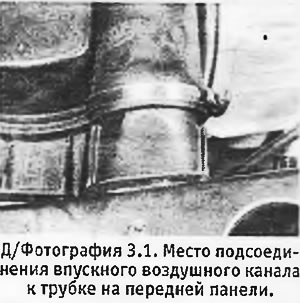
1. On 205 and 309 models, disconnect the air intake duct from the tube on the front panel (see…


2. On 305 models, disconnect the air intake and outlet ducts from the air cleaner.

3. Loosen the nut or screw and remove the air cleaner cover (see photo).
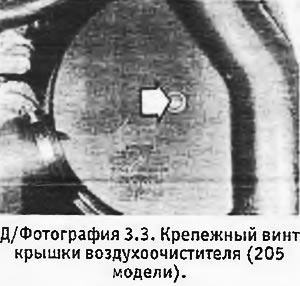
3. Loosen the nut or screw and remove the air cleaner cover (see photo).


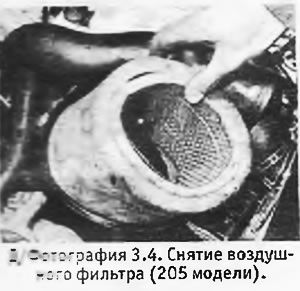
4. Remove the filter and wipe clean the inside surfaces of the main body and the air cleaner cover.
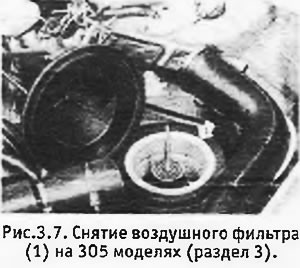
4. Remove the filter and wipe clean the inside surfaces of the main body and the air cleaner cover.

[Source of the article is posted at PeugeotBook.ru]


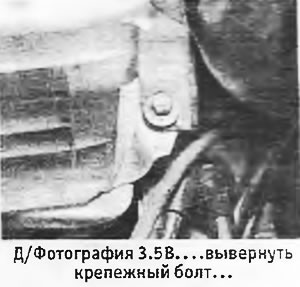
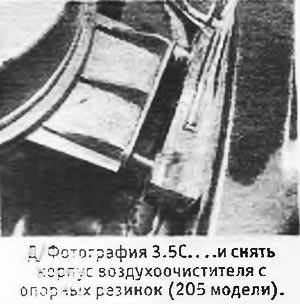
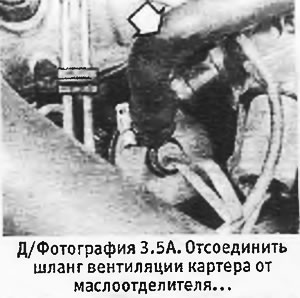
5. To remove the main body of the air cleaner, disconnect the crankcase ventilation hose from the oil separator, unscrew the mounting bolt and pull the main body out of the support rubbers (see photos). If necessary, disconnect the air duct from the air cleaner cover.
5. To remove the main body of the air cleaner, disconnect the crankcase ventilation hose from the…

5. To remove the main body of the air cleaner, disconnect the crankcase ventilation hose from the…


6. Installation of the air filter air cleaner is carried out in reverse order.


Air filter (309 turbocharged models) - removal and installation


1. Follow the instructions above, noting that the air cleaner cover is secured with spring clips rather than a screw.

Air filter (405 models) - removal and installation


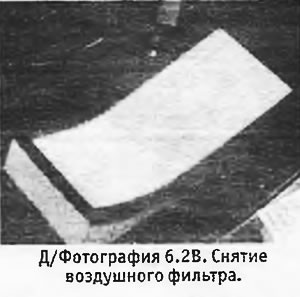
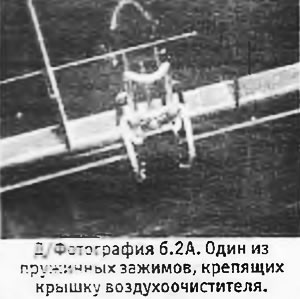
2. Loosen the spring clamps, lift the air cleaner cover and remove the air filter. If necessary, you can completely remove the cover by disconnecting the inlet hose from it (see photos).
2. Loosen the spring clamps, lift the air cleaner cover and remove the air filter. If necessary,…

2. Loosen the spring clamps, lift the air cleaner cover and remove the air filter. If necessary,…


3. Wipe clean the inside surfaces of the air cleaner housing and install the new filter in reverse order.


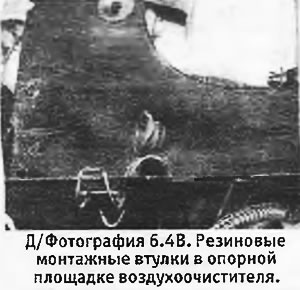
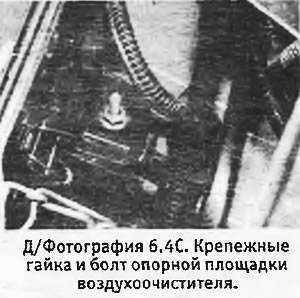
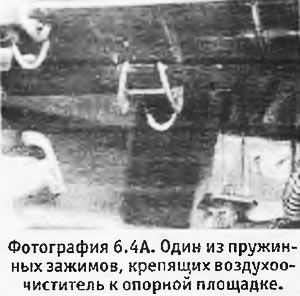
4. If the lower portion of the air cleaner needs to be removed, release the spring clips and pull the air cleaner out of the rubber mounting bushings on the support pad. If necessary, you can unscrew the mounting bolts of the support platform (see photos).
4. If the lower portion of the air cleaner needs to be removed, release the spring clips and pull…

4. If the lower portion of the air cleaner needs to be removed, release the spring clips and pull…


Air distribution box (405 models without turbocharging) - removal and installation


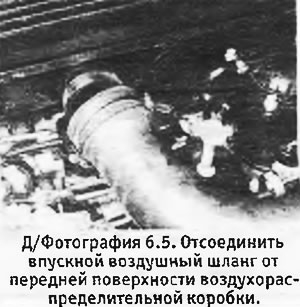
5. Loosen the clamp and disconnect the air inlet hose from the front surface of the air distribution box (see photo).


5. Loosen the clamp and disconnect the air inlet hose from the front surface of the air…


6. Loosen the clamp and disconnect the crankcase ventilation hose from the oil separator (see photo).
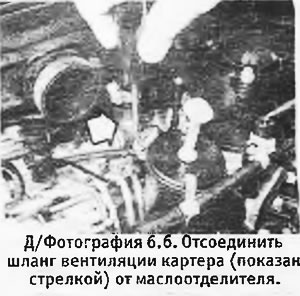
6. Loosen the clamp and disconnect the crankcase ventilation hose from the oil separator (see…


7. Loosen and remove the bolts securing the rear of the air distribution box to the intake manifold (see photo).
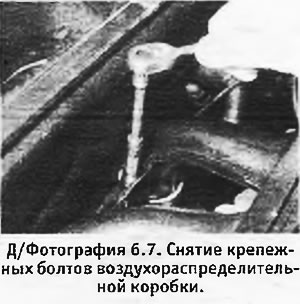
7. Loosen and remove the bolts securing the rear of the air distribution box to the intake manifold…


8. Lift the air distribution box from the intake manifold and remove it from the engine compartment (see photo).
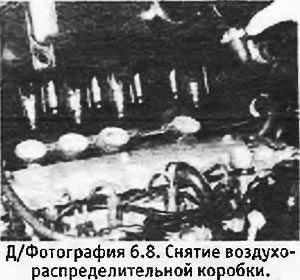


8. Lift the air distribution box from the intake manifold and remove it from the engine compartment…


9. Plug the holes in the intake manifold with clean rags to prevent dirt from getting in (see photos).
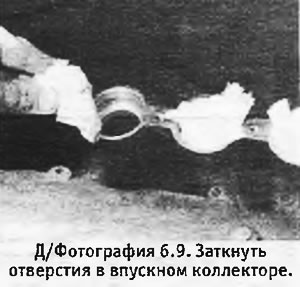
9. Plug the holes in the intake manifold with clean rags to prevent dirt from getting in (see…


10. Check the condition of the O-rings located at the ends of the air distribution box studs and replace them if necessary (see photo).
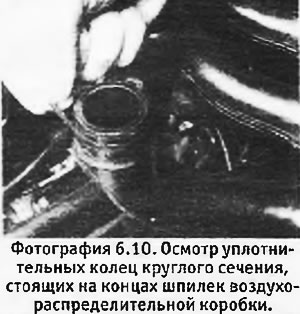
10. Check the condition of the O-rings located at the ends of the air distribution box studs and…


11. Installation of the air distribution box is carried out in reverse order.


Intermediate radiator (405 models with turbo engine) - description, removal and installation


12. All turbocharged models are equipped with an intermediate radiator (see photo), an air-to-air heat exchanger. Compressed air from the turbocharger enters this radiator, where it releases some of the heat generated during compression. Air cooling helps improve engine efficiency.
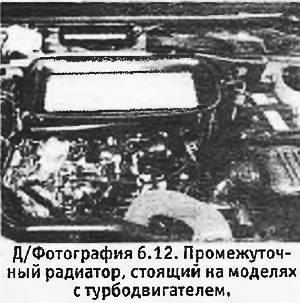
12. All turbocharged models are equipped with an intermediate radiator (see photo), an air-to-air…


13. Remove the rubber trim from the top of the intermediate radiator (see photo).
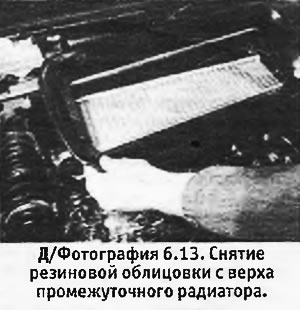
13. Remove the rubber trim from the top of the intermediate radiator (see photo).


14. Loosen the air intake hose clamp and disconnect it from the intermediate radiator (see photo).
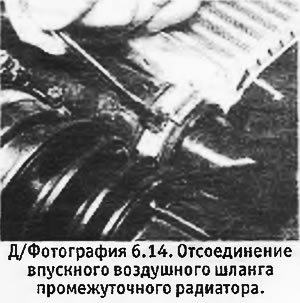
14. Loosen the air intake hose clamp and disconnect it from the intermediate radiator (see photo).


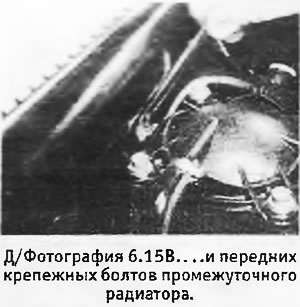
15. Remove the Allen head screws from the rear edge of the intermediate radiator. Remove the front mounting bolts (see photos).
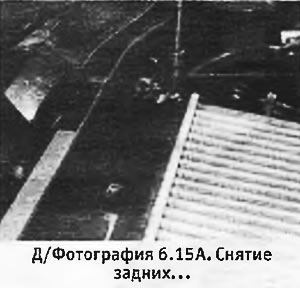


15. Remove the Allen head screws from the rear edge of the intermediate radiator. Remove the front…

16. Disconnect the hose between the intermediate radiator and the high-pressure fuel pump (see photo).
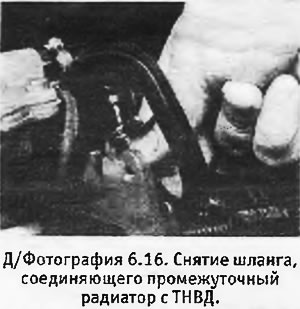
16. Disconnect the hose between the intermediate radiator and the high-pressure fuel pump (see…


17. Release the clamps and disconnect the crankcase ventilation system oil separator (see photo).
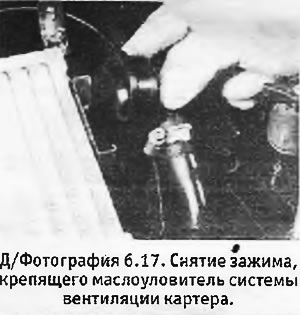
17. Release the clamps and disconnect the crankcase ventilation system oil separator (see photo).


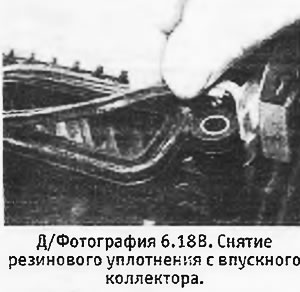
18. Remove the intermediate radiator. Remove the rubber seal located between the intermediate radiator outlet and the intake manifold (see photos). Clean the core of the intermediate radiator with a soft brush or blow it out with compressed air. Check that the intake manifold sealing ring is in good condition and replace it if necessary.
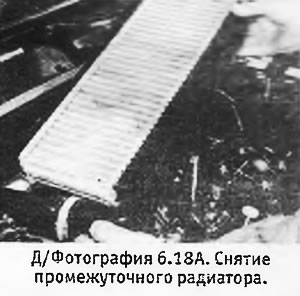
18. Remove the intermediate radiator. Remove the rubber seal located between the intermediate…

19. Installation of the intermediate radiator is carried out in reverse order.
This article is available at russian, bulgarian, belarusian, ukrainian, serbian, croatian, romanian, polish, slovak, hungarian
Article reviewed by editor: Ostrovsky Fedor
Share information:
Previous
Peugeot 305: Fuel system (diesel)
Next

Fuel filter housing — modifications
General description of the fuel and exhaust system
Fuel and exhaust system specifications
Fuel injection pump — removal and installation
Fuel injection pump (Lucas CAV/Roto-Diesel) — checking and…
Fuel injection pump (Bosch) — checking and adjusting injection…
Fast idle speed cable — removal, installation and adjustment
Throttle Pedal Cable — removal, installation, and adjustment
See similar information for other Peugeot models

➨ Engine oil and filter renewal Peugeot 106 (1991-2003)
➨ Replacing the oil filter element Peugeot 207 (2006-2014)
➨ Dehydration of diesel engine fuel filter (7500 km) Peugeot 405 (1987-1997)
➨ Replacing the replaceable air filter element Peugeot 605 (1989-2000)
➨ Replacing the replaceable air filter element Peugeot 806 (1994-2002)
Link to this article in different formats
Comments and feedback from visitors
No comments yet


Add two numbers 38 + 39


Peugeot 307 (2001-2008) 
  • User manual
  • Keys, doors and alarm
  • Controls and instruments
  • Driving and operation
  • Maintenance
  • Power unit
  • Petrol engines TU3 and TU5
  • Petrol engines EW10
  • Diesel engines DV10
  • Diesel engines DW10
  • Transmission
  • Clutch and drive shafts
  • Mechanical gearbox
  • Automatic gearbox
  • Chassis, running gear
  • Front suspension
  • Rear suspension
  • Steering
  • Brake system
  • Body and interior
  • Exterior (external elements)
  • Interior (internal elements)
  • Doors, locks and windows
  • Heating and air conditioning
  • Electrical equipment
  • Equipment and devices
  • Power devices
  • Airbags
  • Electrical circuits
Peugeot 306 (1993-2002) 
  • General information
  • Introduction to manual
  • Specifications
  • Gasoline engine
  • Engine repair
  • Lubrication system
  • Cooling system
  • Fuel injection
  • Ignition system
  • Diesel engine
  • Engine repair
  • Lubrication system
  • Cooling system
  • Fuel injection
  • Transmission
  • Clutch
  • Gearbox
  • Drive shafts
  • Chassis, running gear
  • Steering system
  • Front suspension
  • Rear suspension
  • Brake system
  • Electrical equipment
  • Power devices
  • Electrical circuits
Peugeot 305 (1977-1989) 
  • General information
  • Maintenance
  • Power unit
  • Gasoline engines
  • Diesel engines
  • Cooling system (gasoline)
  • Cooling system (diesel)
  • Fuel system (gasoline)
  • Fuel system (diesel)
  • Ignition system
  • Transmission
  • Clutch
  • Mechanical gearbox BB8
  • Mechanical gearbox BE1
  • Automatic gearbox ZF4
  • Shafts, hubs and wheels
  • Chassis, running gear
  • Brake system
  • Car suspension
  • Steering
  • Body and interior
  • Exterior (external elements)
  • Interior (internal elements)
  • Electrical equipment
  • Equipment and devices
  • Headlights and lighting
  • Power devices
  • Electrical circuits
  • Wiring diagrams (diesel)
PeugeotBook.ru © 2018–2026 | Mobile version | Sitemap: EN BG BY UA RS HR RO PL SK HU | Write message | Site search | Add to bookmarks | Peugeot owners
106 (1991-2003) | 206 (1998-2012) | 207 (2006-2014) | 305 (1977-1989) | 306 (1993-2002) | 307 (2001-2008) | 405 (1987-1997) | 406 (1995-2004) | 605 (1989-2000) | Partner-I (1996-2008) | Eurovans-807 (2002-2014) | Eurovans-806 (1994-2002) | J5 (1981-1993) |
Cookies are used to ensure the correct display of pages on the site.