



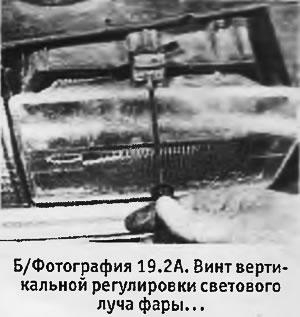
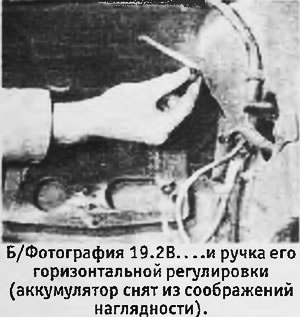
2. In emergency cases, you can adjust the headlights yourself using the adjustment screws provided on them. At the top of the headlight in the center there is a screw for vertical adjustment of the light beam (see photo), and in its lower corner there is a horizontal adjustment handle (access through the engine compartment). Adjust the light beams so that when the low beam is turned on, the headlights shine straight ahead and slightly below the horizontal. Have your headlights adjusted by a specialist as soon as possible.
 |
 |
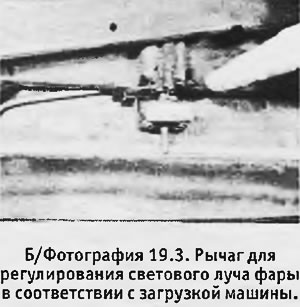
3. Provisions are made for further lowering the light beams when the machine is heavily loaded. When a car is heavily loaded, the rear end sags, causing the headlights to shine upwards even when the low beams are on, blinding oncoming drivers. To adjust the headlights in this case, there is a rocker arm behind the mounting clamp of each headlight. When you press down on the right side of the lever (if you look from the driver's side) the headlight is in the position corresponding to the normal load of the vehicle. When you press down on the left side of the lever, the headlight turns down slightly, which corresponds to the case of a heavily loaded vehicle (see photo).
Headlight adjustment on models produced since 1983.
1. The location of the adjusting screws is shown in B/Figure 12.111.
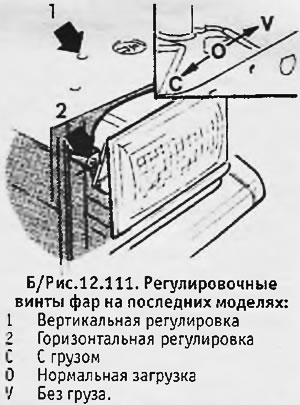
2. On all recent models, except those with remote headlight adjustment, a load compensator is provided at the rear of each headlight. The central position of the compensator ("0") corresponds to the case of medium machine loading, the "V" position to the case of small loading, and the "C" position to the case of large loading (lowering the headlights).