



2. Remove the strips holding the liners and check that the surface of the cylinder block is absolutely clean and free of scratches or burrs. Install a new cylinder head gasket on the block.
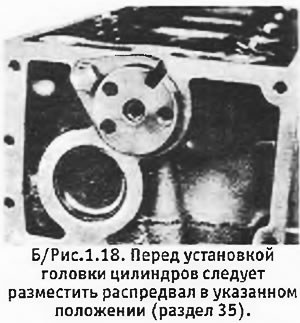
3. Check again that the cylinder head is clean and has no scratches or burrs on the contact surface, and carefully lower the head onto the cylinder block, making sure that the gasket does not shift. Turn the camshaft so that its drive end takes the position shown in B/ Figure 1.18).
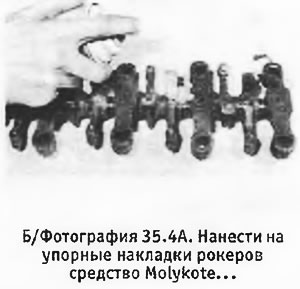
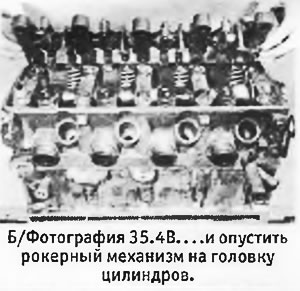
4. Inspect the rockers again to ensure that everything is in order and apply Molykote 321 R or similar to the rocker pads. Lower the rocker assembly onto the cylinder head, ensuring that the locating pins of the two end bearing blocks fit into the holes provided for them in the head (see photo).
 |
 |
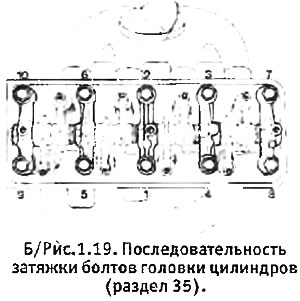
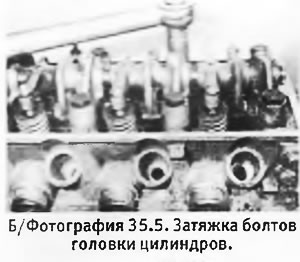
5. Apply oil to the threads of the 10 cylinder head bolts and under their heads. Install the bolts and nuts, but without washers yet. Tighten the bolts in the sequence shown in B/Figure 1.19 to the torque specified in Specifications for stage 1 (see photo). After this, tighten them in the same sequence to the torque specified for step 1.
 |
 |
(View the original on the website: «www.peugeotbook.ru»)
6. Since June 1980, the engines in question began to be equipped with a modified camshaft and reinforced cylinder head bolts. At the same time, the manufacturer introduced an increased tightening torque for the cylinder head bolts. Never tighten the cylinder head bolts on older model engines before this point unless you have replaced the camshaft and bolts on the older model with new, modified ones. The camshafts are identified by a color mark next to the center journal, and the bolts are identified by numbers on their heads:
| Old | New | |
| Camshaft on the XL5 (118) engine | Green mark | Blue mark |
| Camshaft on the XR5 engine (142) | White mark | Yellow mark |
| Cylinder head bolts (all engines) | 8.8 | 10.9 |