



19. Remove the generator drive belt.
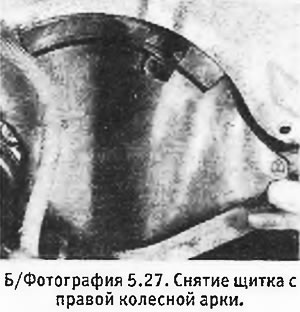
20. Remove the inner shield from the right wheel arch and wedge the lower radiator hose under the pan. Move the expansion tank to the side so that it does not interfere, without disconnecting the hoses from it (see photo).
21. Remove the shield from the camshaft sprocket.
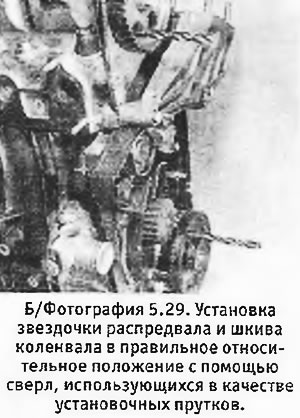
22. Turn the crankshaft so that the hole in the pulley is in the position of the number "12", and the hole in the camshaft sprocket is in the position of the number "1" on the clock dial. In this position, a 10mm diameter rod should pass through each of the holes and into the mounting recess behind it. Once you are sure of this, pull out the rods (see photo).
23. Remove the lower clutch shield (or torque converter). Ask an assistant to lock the starter ring gear and remove the crankshaft pulley bolt. This bolt is very tight. Do not attempt to lock the pulley using a rod inserted into the mounting hole, as this will damage the pulley. Remove the bolt with the washer.
24. Check that a 10 mm diameter rod can be inserted into both mounting holes and, if necessary, adjust the position of the crankshaft via the ring gear. Remove the crankshaft pulley and woodruff key if it falls out.
25. Remove the plastic shields covering the front of the camshaft drive belt. Note the position of the various bolts.
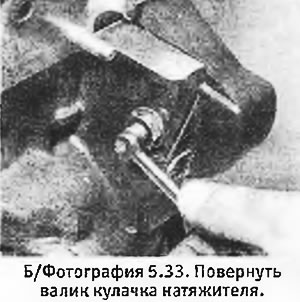
26. Loosen the 2 nuts at the front of the camshaft drive belt tensioner and one nut at the rear. Using a wrench placed on the square shaft of the tensioner cam, turn the cam to a horizontal position, thereby compressing the tensioner spring. Tighten the cam lock nut (see photo).
27. Remove the camshaft drive belt, being careful not to twist it or get it oily if you are not going to replace it.
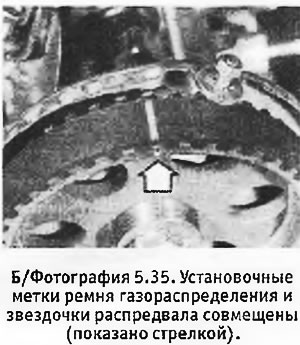
28. Begin assembly by installing the belt on the crankshaft sprocket. Install the pulley and use a rod to position it correctly on the crankshaft. (Pay attention to the arrows indicating the direction of rotation of the belt, as well as the timing marks on the belt, which must be aligned with the marks on the crankshaft and camshaft sprockets) (see photo).
29. Install the belt on the camshaft sprocket, tensioner and water pump sprocket.
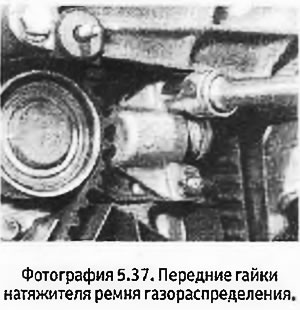
30. Loosen the tensioner cam lock nut and turn the cam downward to weaken the spring. Tighten the lock nut and front tensioner nuts (see photo).
31. Pull out the installation rods and turn the crankshaft 2 full turns in the normal direction of its rotation. After this, additionally turn it so that piston No. 1 reaches the TDC position on the mixture ignition stroke.
32. Loosen the front tensioner nuts and the tensioner cam lock nut and then tighten them again.
33. Turn the crankshaft again and check that it is still possible to insert the installation rods. If this does not work, you will need to remove the camshaft drive belt and start over.
34. If you have not replaced the belt, go to paragraph 45. When installing a new belt, do the following.
35. Tighten the crankshaft pulley bolt to the specified torque and then install and tension the alternator drive belt. Temporarily install the camshaft sprocket shield.
36. Start the engine and let it warm up to normal operating temperature (a sign of this is the turning on of the radiator fan). Turn off the engine and let it cool for at least 2 hours.
37. Turn the crankshaft so that piston No. 1 reaches the TDC position on the mixture ignition stroke. Loosen and tighten the tensioner nuts again and remove the alternator drive belt.
38. Remove the crankshaft pulley. Install and secure the plastic shields, reinstall the pulley and tighten its bolt to the specified torque. Install and tension the alternator drive belt.
39. Check and, if necessary, adjust the ignition timing.