



2. Remove the sprocket and woodruff key from the crankshaft (if the last one falls out).
3. Remove the tray (see section 13).
4. Unscrew the bolts and remove the front oil seal housing. Remove the gasket.
5. Unscrew the 3 bolts securing the oil pump to the crankcase, remembering their position, as all three are of different lengths.
6. Remove the angle-shaped spacer gasket from under the oil pump.
7. Remove the locating pin. Remove the chain from the pump sprocket. Remove the pump.
8. Remove the chain and sprocket from the crankshaft nose. Remove the segment key if it falls out.
9. Remove the 6 bolts holding the oil pump halves together. Disconnect the halves (be prepared for the spring and plunger of the pressure relief valve to "jump out") (see photos).
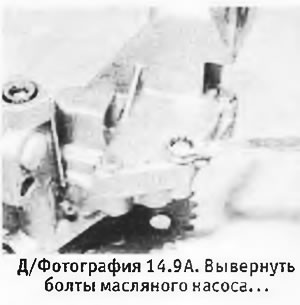 |
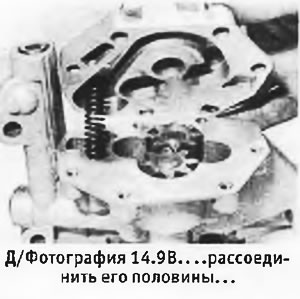 |
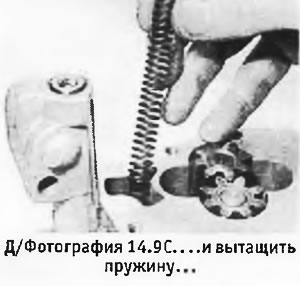 |
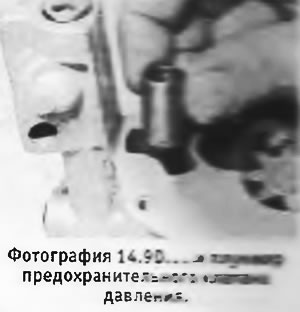 |
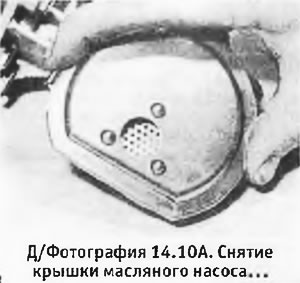
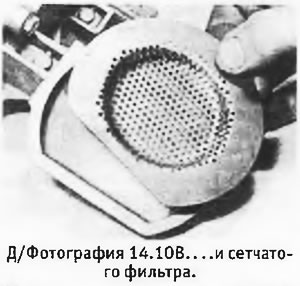
10. If necessary, remove the mesh filter by prying off the cover. Clear all details (see photos).
 |
 |
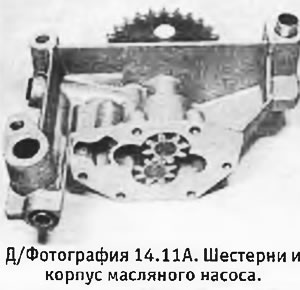
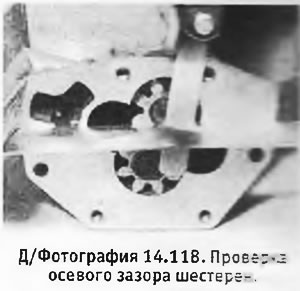
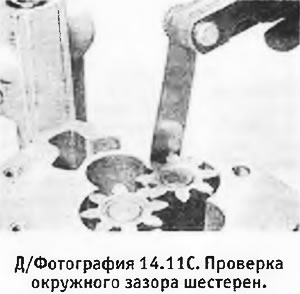
11. Inspect the gears and pump body for wear and damage. Check the axial clearance of the gears using a ruler and feeler gauges. Check the axial clearance between the gear and the pump housing (see photos). If one of these clearances exceeds the acceptable limits, the pump should be replaced. Please note that, with the exception of the spring and plunger of the safety valve, no other spare parts for the pump are available for sale.
You can find the original on the resource: PeugeotBook
 |
 |
12. If the pump is to be replaced, it is also recommended to replace its chain and sprocket on the crankshaft.
13. Lubricate the gears with engine oil and assemble the pump in the reverse order of its disassembly. Tighten the bolts evenly to the specified torque.
14. Install the woodruff key and sprocket onto the crankshaft nose (with the side with the teeth facing inward). Place the chain on the sprocket.
15. Remove the front oil seal from its housing. Install the housing onto the cylinder block together with a new gasket and tighten its bolts evenly to the required torque.
16. Install a new oil seal into the housing (see section 12).
17. Check that the locating pin is on the block. Place the chain on the sprocket and install the L-shaped spacer, making sure that the open end of the spacer fits onto the pin.
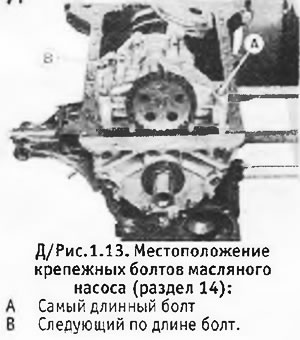
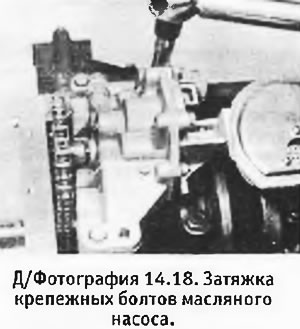
18. Insert the bolts into their original places (see D/Figure 1.13) (The longest bolt should go through the dowel pin, and the second longest bolt should be next to the oil return hole.) Tighten the bolts evenly to the specified torque (see photo).
 |
 |
19. Install the tray (see section 13).
20. Install the woodruff key and timing sprocket.
21. Install the timing belt (see section 4).
Oil pump (latest models) - removal and installation
1. From April 1987 onwards, the oil pump is installed without a spacer gasket and dowel pin. To compensate for the lack of a gasket, the pump has been increased in height.
2. A new pump can be installed in place of the old one, provided that the gasket and the mounting pin of the old pump are removed. Thicker washers must be installed under the oil pump bolt heads (part number 6962.28).
3. On XUD7T engines, a thin spacer gasket is still installed between the cylinder block and the oil pump.